For more than a year now I have embraced Blackmagic Davinci Resolve as my go to video editor. Slowly and gradually I found out how to do a bit of color grading. Its an art form that I do not claim to have mastered, but I know what happens if I turn the dials and it really brings consistency in a video. This then in turn helps to tell a story without distractions. The video editing itself, I just took for granted and I found a way that works in the Edit page of Resolve.
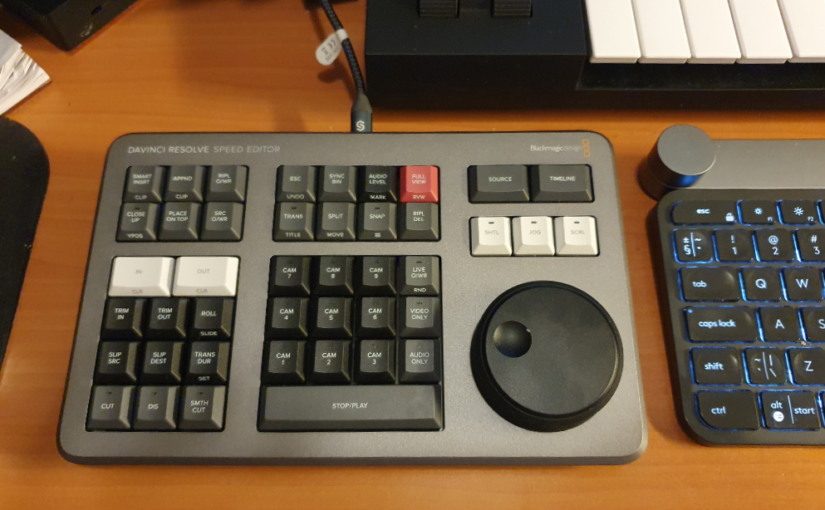
After a year it became clear that it would be also necessary to dive into the full Davinci Resolve Studio product and I found out that the right way to do this would be to buy the Davinci Resolve Speed Editor that comes free with a license. I thought it was a just a keyboard with shortcuts to help you navigate the editing process faster. How wrong could I have been?
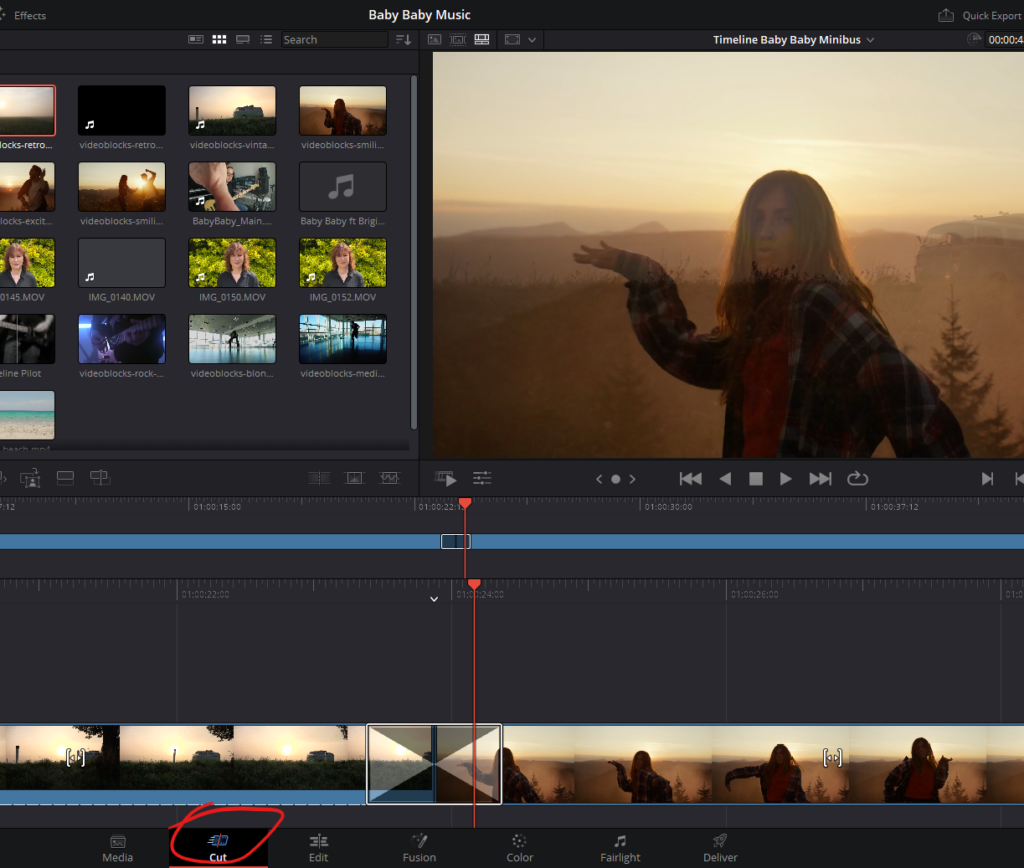
This keyboard showed me that I had mistakenly skipped one step in the editing process. The process of sorting and selecting source material and trimming it to fill the timeline. It All Happens In The Cut Page. This was the page I always skipped over, because I thought it was just intended to cut stuff. Sorry, you knew this maybe all along. I had to learn because I bought the license and the keyboard came with it for free.

This changes everything. The Cut page is the start of the editing process. The Edit page is only for finetuning the main work done in the Cut page. The Speed Editor keyboard makes the start of the editing process a breeze. The complete edit above was done without touching the mouse or another keyboard. I can tell you, you need this keyboard even though you thought you didn’t. I’m bummed that I found this out late. For now I am just happy that I found the right way to use Davinci Resolve.
