This maybe something that I had overlooked for too long: Loopcloud. For years the talk of the sampling library town, but I didn’t look at it until I got a demo of the new Loopmasters Loopcloud 5.0 version at the Amsterdam Dance Event this year. I also had looked at other sample managers like Algonaut Atlas, but that may be only drums oriented. Intriguing, because Atlas uses machine learning to recognize the types of samples. For me, up to now, a sample manager was simply a folder in Ableton Live to browse through. And I had always put Loopcloud away as simply a shop to buy samples with a subscription model.
How to work with the application
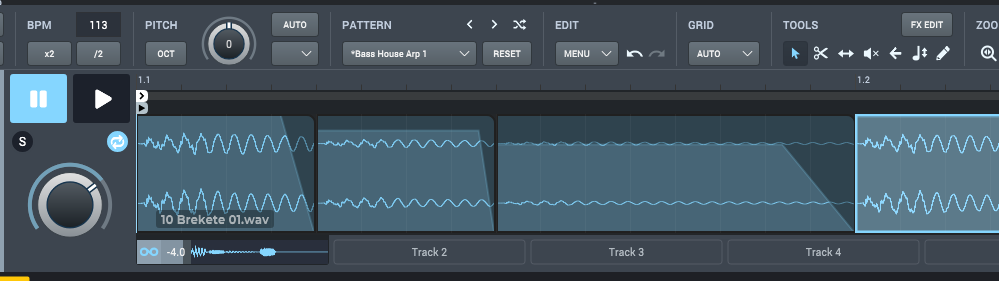
The Loopcloud application is a standalone application, but it integrates with your DAW through a Loopcloud plugin. You can only have it on one track in your DAW. All samples that you browse then play through that track. The idea is to start with a sample in the Loopcloud application. You can have random sorting to free your mind. Then use that to edit, slice, dice, sequence, mash up and add effects if you wish. You can drag the final result into your DAW as a sound file. Quite something different than finding a sample and then edit it in the DAW. All with the tune and tempo of your DAW. It nicely prevents you using kind of preset sounds over and over. Clever!
It means however, that you have to keep two applications open while working. For those of you with two monitors, maybe a no-brainer. But then again, it could just be that you already have a nice workflow with your two monitors and now you need to fit in yet another application. Anyway, there is an option to have the application dock to the sides of a window at about 20% of the width. Combined with scaling and other options, you might manage with one screen. The application sometimes forgets how you docked and scaled it.
Your library manager
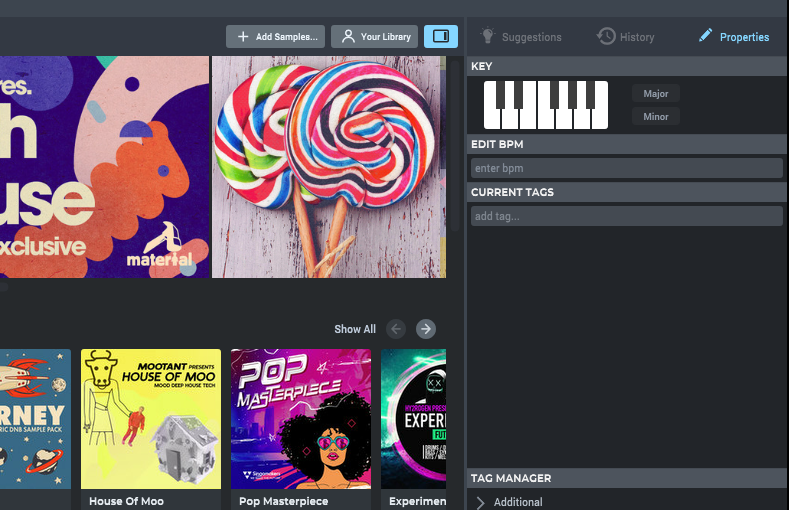
Now about the library management. The moment you add your own samples to the Loopcloud application it starts scanning all the samples in it. It will try to find BPM and key information and it will try to read other information from the name of the sample or the loop. It will probably not correctly discover more complex information like the genre, loop or one-shot, or the exact instrument. All is then marked down as tags and you can start searching for things like key and BPM.
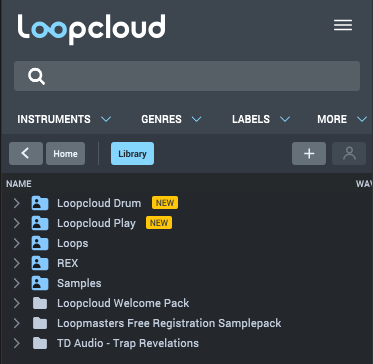
For this you need to click the button marked “Your Libary”. If you also want the detailed information of your scanned samples to be correct you will have to start tagging yourself. Its quite advanced, you can tag whole folders and batches of files. For a more in-depth dive into the tagging and searching you should dive into the tutorials.
Additional plugins!
But then when I found out Loopcloud as a sample manager, the tutorial also pointed me to Loopcloud Drum. A separate plugin that is actually a full sample drum instrument. It uses its own Loopcloud drumkit format and will open up a separate section in the Loopcloud manager. A strange find in a sample library manager. As a separate instrument it has its own format and its actually more of a pattern beatmaker with its own sequencer. A preset list of drum kits get activated that have been assembled from Loopcloud one shot samples of course.
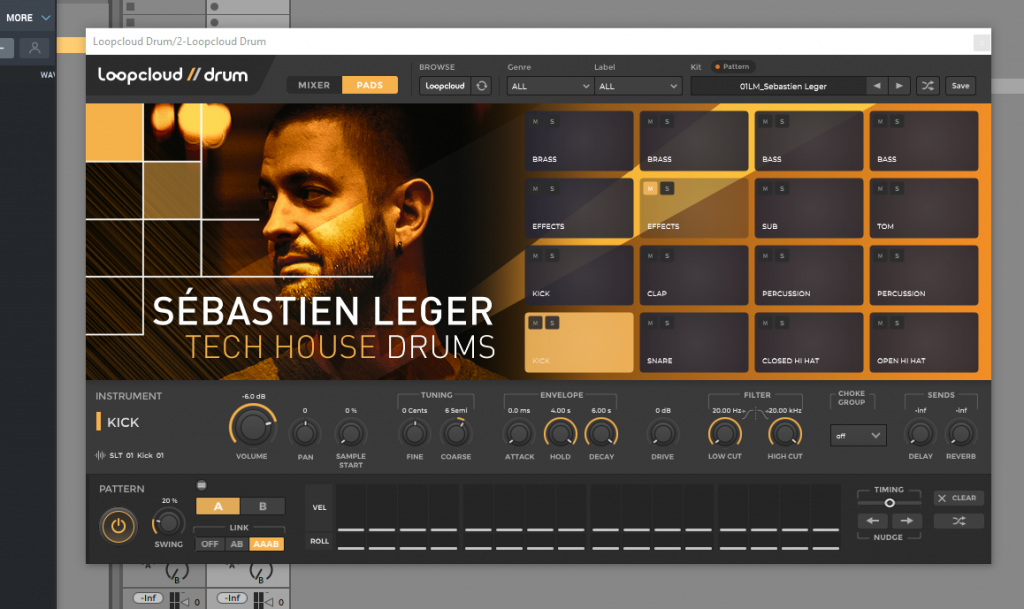
I didn’t find any option to change the patterns in the beatmaker, other than with a mouse. You would also expect an option to edit drum kits and build your own. You can edit the mix of the kit and save that as a “user” drum kit, but I didn’t see any way to create a drum kit from your own set of one shots. Maybe this is in a future version, or in a Loopcloud subscription model that I didn’t explore. I was kind of on the lookout for tools to start making beats, other than with loops or Nerve, but this is not it yet.
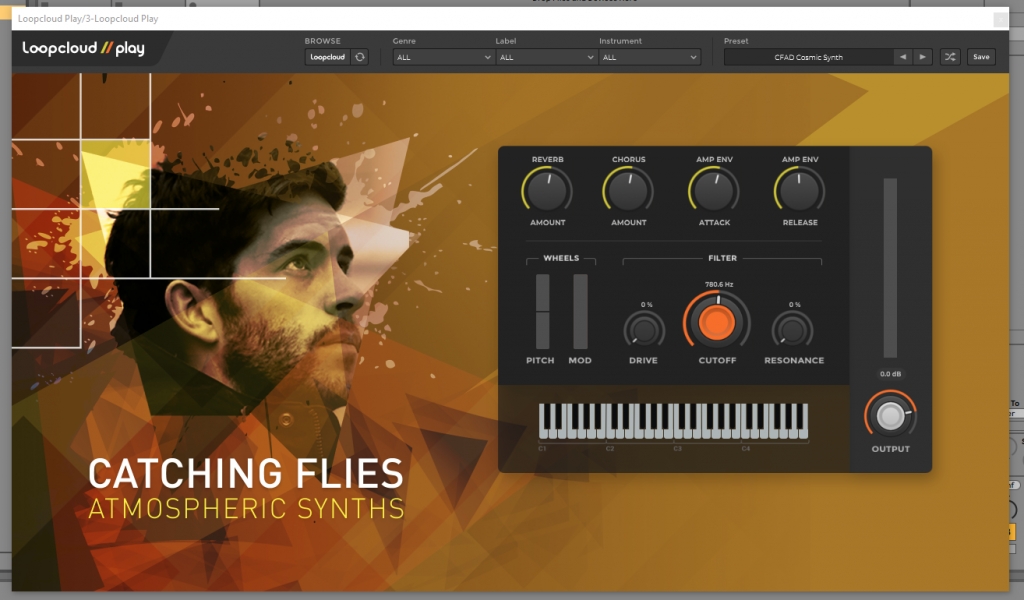
And even more? The tutorial also points to the Loopcloud Play plugin. Yet another sample instrument, but this time melodic. As an instrument its quite basic, maybe so basic that you fall back into the preset trap again. There are about 7 knobs to turn and that’s it. Like the Drum instrument it has its own place in the library and again no way to choose the samples. You can save tweaks to the knob as “User” instruments. I think it needs work, as this is no match for Native Instrument’s Kontakt.
Closing out
Loopcloud has a quite intricate subscription model and not all of the features are available in all tiers. Specifically on using multiple tracks and the sample editing. However, if you just want to use it as a sample library manager you can even use the free subscription model tier. If you already own Loopmasters stuff it will automatically appear in your library. Even though it could do with more advanced detection of the samples that you load in the library, for me this was a great find and it surely beats the user folders in Ableton Live.