Akai Force: First impressions

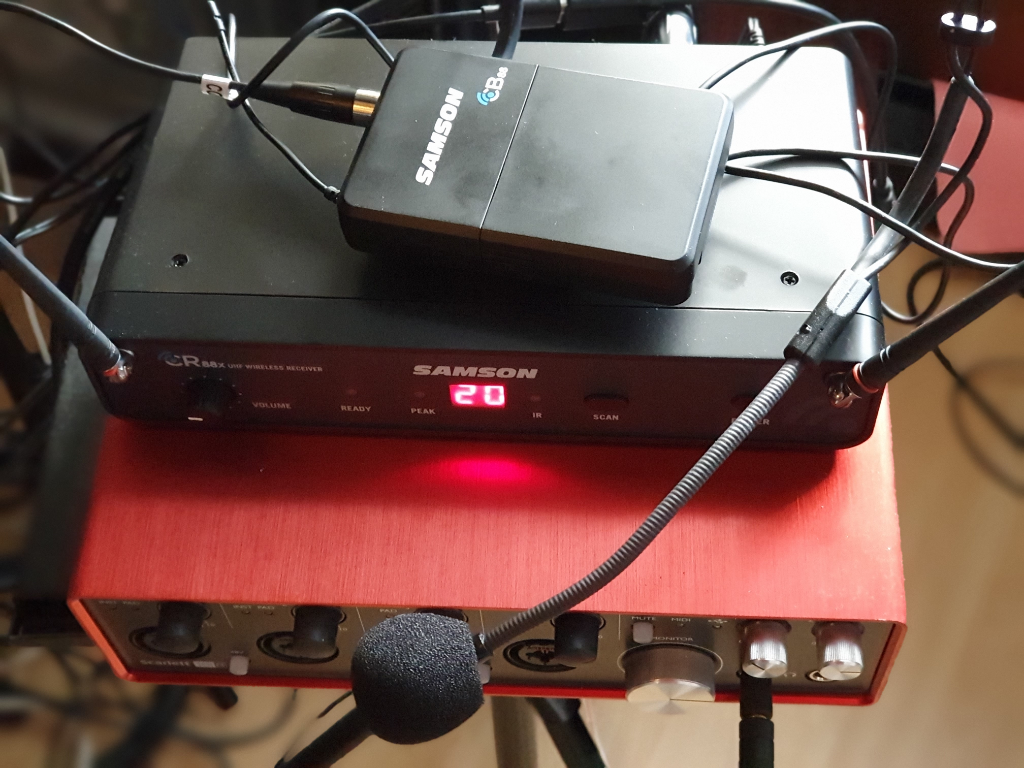
After having played live for more then one and half year I was eying this baby: the Akai Force. My live setup when playing solo, or as a duo now with a bass player, centers around Ableton Live on a laptop with a Focusrite sound interface. In previous articles you can find out how I use Ableton Live live and it is great to be able to play songs live, just like they have been recorded in the studio.

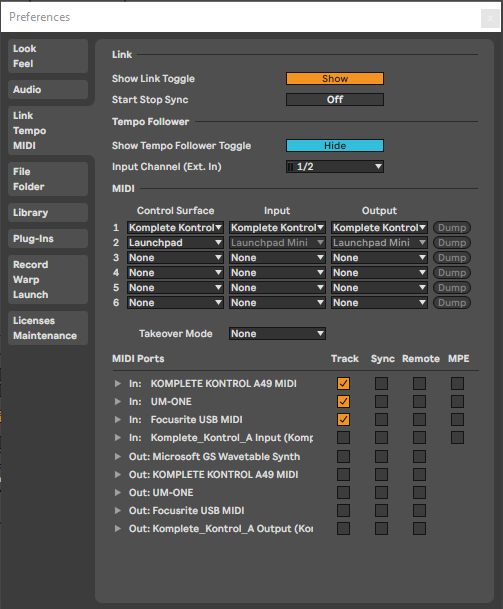
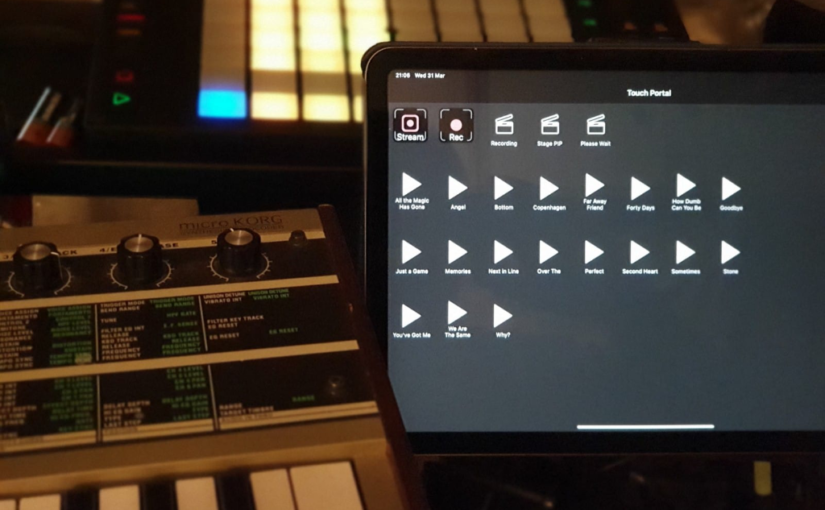
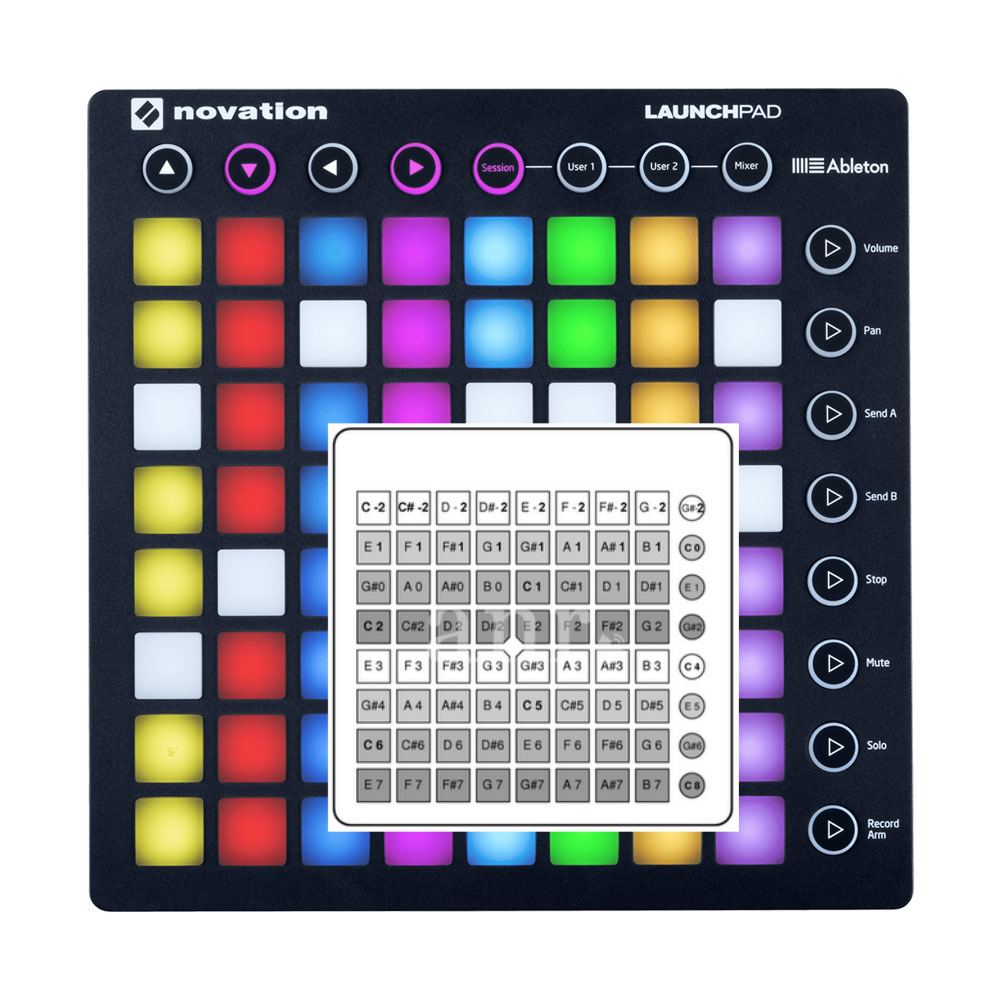
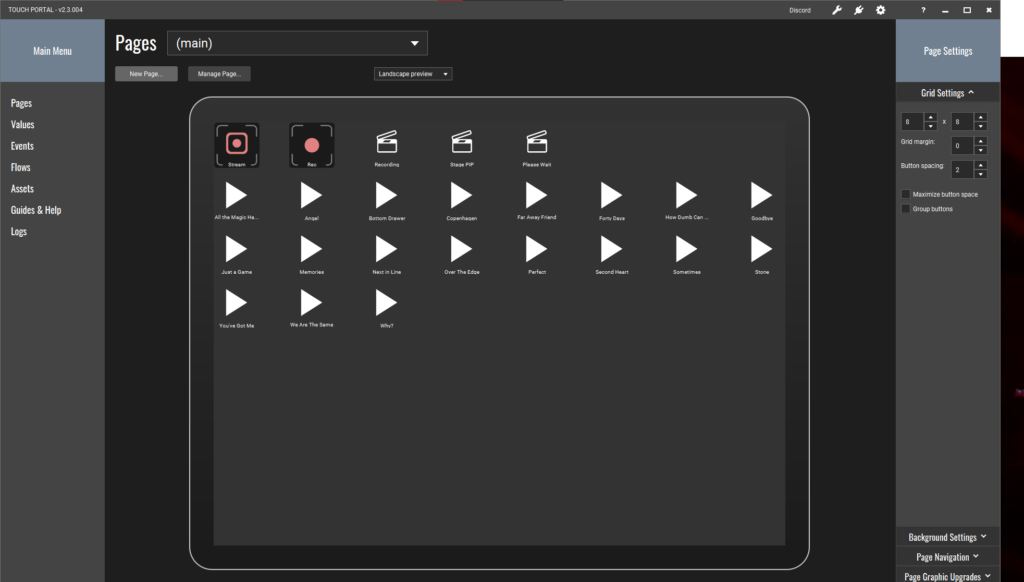
Now I am also playing more acoustic (Stripped) versions of my song, without a laptop and that is also because in a way it still feels like cheating to use the computer to play along when playing live. I know it is now very common to play like this and my audience never questioned it, but still it bothers me that people might think I am checking my email while playing a live show. Of course, to prevent me constantly working on the laptop I control it with a Novation Launchpad, but I do have to check the laptop screen once in a while.

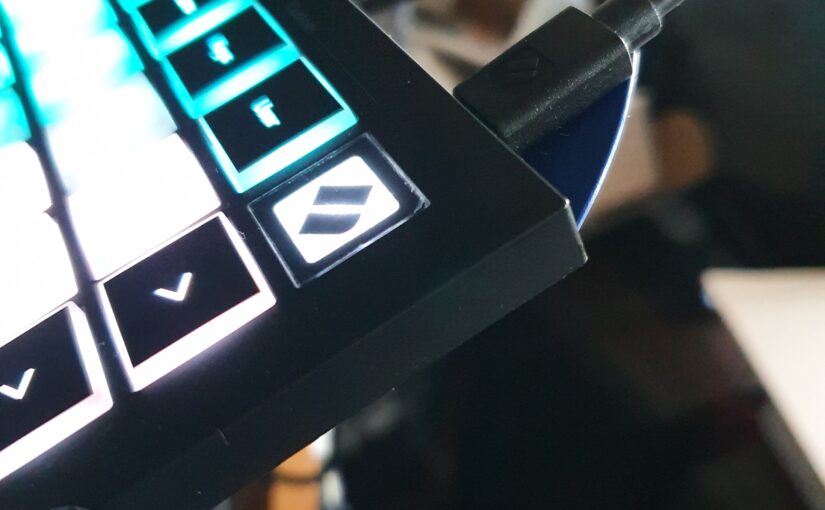
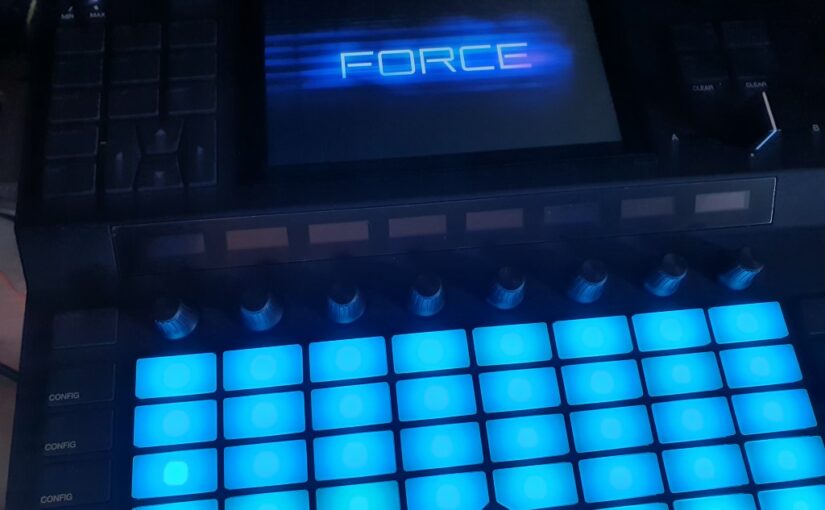
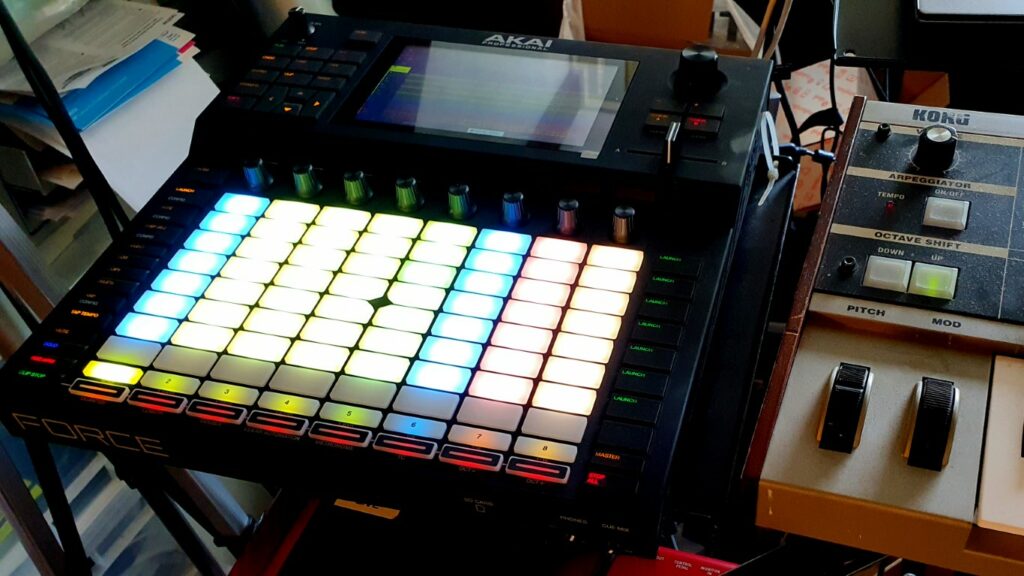
Enter the Akai Force. Not only an MPC (Midi/Music Production Center/Controller) , but also a standalone live instrument. It promises to be able to read an Ableton Live set and converting it to an MPC live set. This way it potentially does a way with the laptop, sound interface and launchpad. It is all in one and looks like a music instrument. These are my first impressions of the Akai Force.

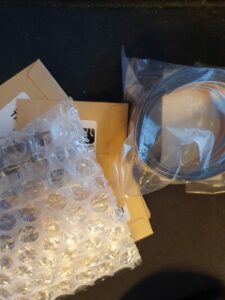
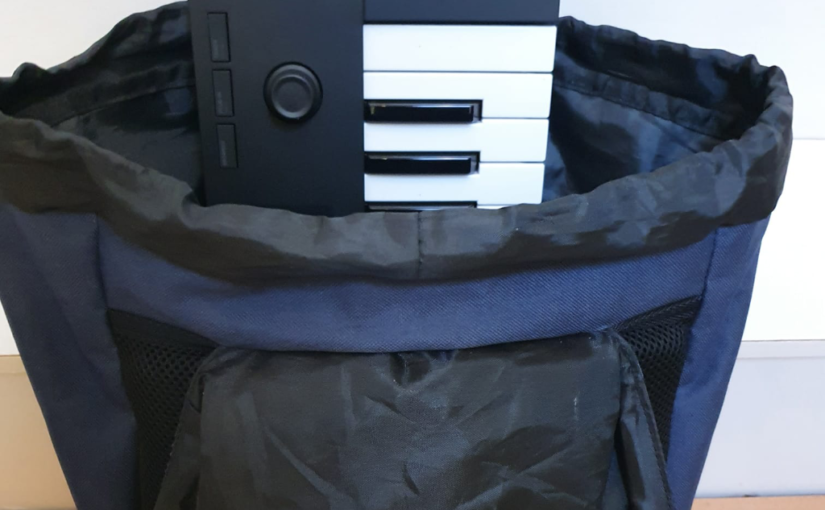
Unboxing it, reveals a heavy and sturdy device. Larger then an Ableton Push, but the same idea. It has a nice touch screen, and it strangely wants you to either start a new project or open an existing, before allowing you to access other functions, like browsing or configuring the device. It is possible to change this behavior in the preferences.

Akai Force in the live setup

The device starts up in Standalone mode, but can be put into Computer mode. In this mode it allows access to connected storage, but strangely not internal storage. It also turns into a dumb audio interface in Computer mode. The best thing to do first is to mount an 2.5 inch SSD drive inside. There is a lid that has room to add an SSD and this was actually for me a pleasant surprise. I thought I had to replace the internal storage. Internal storage is only 16 GB of which 6 GB is available. After initializing, formatting (eFat) and naming the internal drive it now shows up as Force SSD. Nice.

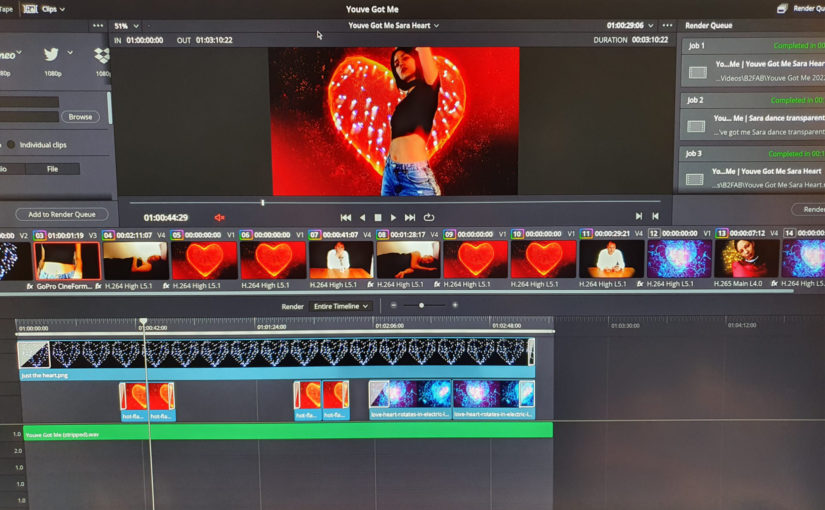
After copying my Ableton Live live set it all begins. This was my first real unpleasant surprise. My live set runs itself, if I let it, by using Follow Actions on clips and scenes in the live set. None of this works on the Force. Fortunately this can be simulated by cutting up the songs where I used this in separate live sets and creating an Arrangement. The Arrangements import perfectly in the Force. Also it is still possible to leave the arrangement and trigger clips and scenes yourself manually. Phew!

Another unpleasant surprise. Only 8 audio tracks in a live set. Yes, I was not well prepared for this I must admit. It was quite hard to find these kind of details. I only found it in forum discussions. This needs some work on my side to review and mixdown parts of the live sets before importing. I’m still working on that.

Then a nice surprise, the internal mixer outputs to two sets of outputs 1/2 and 3/4. This quite nicely works with my in-ear monitoring channel with clicks and the live mix without click. The number of inputs however seems limited with only two. Only enough to accommodate me playing solo. Not enough for my bass player, so I still have the need for a separate live mixer when doing a show.

Next steps for me to find out is the effect section for playing live and also using it as a musical instrument live and for production. Stay tuned for more about this new addition to the studio. If you have experience with the Force, please comment or send me a message! Let me know what other questions you have about the Force!

Better fix it before it breaks!

It is only the most important part of my setup. The launchpad for triggering songs and samples and visuals. And ok, I broke it… again! This time just before a live show. How did it happen? A fall from the stand with the cable connected ripped the connector from the internal circuit board. First my Ableton Push some time ago, now my Novation Launchpad. Now let’s fix it before it breaks!

In the picture above you can see my attempt to fix this before it happens again. I glued a plectrum to the bottom side of the new Launchpad where the connector is. I hope this effectively catch some of the impact to the connector if it falls or bumps. In a live situation I will also tape it with duct tape. My advice is to check all of your gear for protection of connectors. I am quite happy now that my 19 inch rack mountable stuff is now solidly protected in a case.

Of course, I shall not rest before both the Push and the old Launchpad have been fixed again. In both cases these are connectors soldered to the surface of the circuit board. So if you drop the device or it bumps against something solid it kind of gets torn and ripped off the surface. In the end it this is a cheap way to manufacture a device. The alternative would be to protect the connector or wire it separately. The manufacturers of these devices do take this into account and ruggedize the connector a little bit.

I already bought some stuff to make this work. So here is my stuff to fix it. Soldering something surface mounted manually is hard. My alternative is to wire the connector. It will be ugly, but if it works it it works and I hope these will find new use in the studio. Throwing away this beautiful gear would be a waste! But: better fix it before it breaks!

You need a 4K display, but…

The start of this year is already well on it’s way and I wanted to start it right with an upgrade to the studio. As you know I am into making music, but also video content that goes with the music. In the end video clips, but I like to think more about it as “visuals for the music”. A way to tell the story of the music again, but different. Working with 4K content is quite normal for me now, even though the end result might simply be an HD 1920×1080 YouTube video, or even a 1080×1080 Instagram post. In the end 4K can really make the difference and will also affect the quality of your lower resolution end result.

A 4K display has now become a no-brainer. I invested in a 32 inch ergonomic screen with good, but not high-end, color reproduction. The LG Ergo 32UN88A also fitted nicely on my desk. Immediately after connecting the screen to both my studio PC and a Thunderbolt laptop dock the problems started. Blackouts. Every minute or so the screen would just blackout on both devices. Both should be able to drive a 4K screen, but nonetheless it seemed to fail. Maybe you immediately know what happened, but I was stuped.

My fault was that I was just too new to 4K upgrades like this. So I had to find out the hard way that there is more to hooking up a higher end display like this. Yes, there are limits to driving a 4K screen. One part of the chain is the video output, but the other is the cabling. I had to learn the hard way now that HDMI cables have specifications. Up to now I only had a 1920×1440 to drive maximum and that turned out to be easy. I had to run to the shop and buy new cables. Cables with specs that could meet 3840×2160 and 60Hz.

After connecting that only the laptop dock kept flickering and I had to turn down the refresh rate to 30Hz. A dock like this is not the same as a video card. I do have a Thunderbolt external video card, but I only want to start that up when playing games. It makes quite some noise and is not suited for studio use. So just as I found out in live streaming that not any PC USB bus can drive multiple HD cameras, using 4K displays is a good way to tax any connected PC or device and the cabling. So if you are thinking about upgrading your studio workhorse, be prepared!

Another thing might be that the picture I shot above is from editing video in Blackmagic DaVinci Resolve Studio. The moment I started Resolve for the first time on a 4K screen the UI was microscopic small! It was completely useable, but totally not how I expected to work with Resolve. After some googling I found out that in order to see the normal layout on a 4K screen, you need to make the following changes to your system environment variables:

QT_AUTO_SCREEN_SCALE_FACTOR: 1
QT_DEVICE_PIXEL_RATIO: 1

There is a good chance you already have a 4K display, or maybe even multiple. If you don’t and want to upgrade you may be warned now that it might just not be a simple and light upgrade.

Practicing on the road with a mini keyboard

So here I am. I’m back from a short vacation. Just one and a half weeks. Long enough to have this feeling of really having traveled, but probably short enough to pick up the daily routines in no time. Usually I need a full week slow down to idle mode and then a week to start up again. One and a half week does not really cut it then, but it will have to do.

The choice for me was to just step out of the daily routines of practicing and playing live and then step in again, or bring some gear and practice on the road. Actually the only thing you need is anything between a phone and a laptop to be able to sing here and there, but if you also want to practice playing keys and singing there are some choices to make.

This time I chose to bring an iPad, a (Windows) laptop, the Zoom U-24 audio interface and a mini keyboard, the Komplete Kontrol M32. It gave me several options of practicing singing and playing the keyboard. The good thing about the M32 is its build quality and the playability given its limitations.

Is a midi keyboard with 32 mini keys something you can play on? Maybe. I found out that it is just a little too cramped and limited for my songs, but it was close to having a keyboard most of the time. It does fit into a backpack. Maybe it’s more suited to just playing around then practicing full songs? Jamming along some new song ideas? I brought it along, so it would have to make do. Your mileage may vary.

An iPad, an USB-C hub and a mini keyboard

The most lightweight option is the iPad and the M32, but I had to bring a small USB-C hub to connect the two. Once connected and loading up Garageband, I was practicing a few songs in no time. Perfect for a few songs I really wanted to practice on. The iPad speaker audio quality is reasonable.

A laptop and a mini keyboard

Then there is the option to scale up a little. Bringing the laptop allowed me to load up Ableton Live and the full live sets, or just load a basic setup to play piano sounds with the M32. A Windows laptop however only gives you Windows audio output which is notoriously slow and gives you latency. Unless you load Asio4All drivers of course. I tried it and it worked fine. The laptop speaker audio quality was not very special maybe even a bit too soft.

A laptop, a compact audio interface, a headset and a mini keyboard

The full scale option was also at my disposal. By connecting the audio interface I had my full live set and low latency audio and I could practice any song just like always. Except of course for being limited to the 32 mini keys. The full set was also great for writing songs, or just some playing around. This time I needed a headset to hear something or portable speakers. The audio quality was outstanding.

All in all the experiment was a success. I have practiced a few songs. My vocal coach assured me that a short vacation is actually good for your voice, so I did not practice every day. I must admit I accepted the risk of using the mini keyboard also because I use a microKorg in my live setup. Mini keys are not a no-go area for me. I hope you can use these experiences to choose your own on-the-road-practice-setup.

Using Davinci Resolve the right way

For more than a year now I have embraced Blackmagic Davinci Resolve as my go to video editor. Slowly and gradually I found out how to do a bit of color grading. Its an art form that I do not claim to have mastered, but I know what happens if I turn the dials and it really brings consistency in a video. This then in turn helps to tell a story without distractions. The video editing itself, I just took for granted and I found a way that works in the Edit page of Resolve.

After a year it became clear that it would be also necessary to dive into the full Davinci Resolve Studio product and I found out that the right way to do this would be to buy the Davinci Resolve Speed Editor that comes free with a license. I thought it was a just a keyboard with shortcuts to help you navigate the editing process faster. How wrong could I have been?

This keyboard showed me that I had mistakenly skipped one step in the editing process. The process of sorting and selecting source material and trimming it to fill the timeline. It All Happens In The Cut Page. This was the page I always skipped over, because I thought it was just intended to cut stuff. Sorry, you knew this maybe all along. I had to learn because I bought the license and the keyboard came with it for free.

Davinci Resolve Cut Page

This changes everything. The Cut page is the start of the editing process. The Edit page is only for finetuning the main work done in the Cut page. The Speed Editor keyboard makes the start of the editing process a breeze. The complete edit above was done without touching the mouse or another keyboard. I can tell you, you need this keyboard even though you thought you didn’t. I’m bummed that I found this out late. For now I am just happy that I found the right way to use Davinci Resolve.

Livestreaming with good audio quality with the Zoom Livetrak L-12

In a previous post I discussed how I try to have good audio quality for my livestream with OBS, by linking up a mixing desk I use for all live performances with a studio audio interface that I use for live streaming. So the idea is that when I know how to mix my live performance I can also livestream that mix with good audio quality. OBS supports high quality audio with an ASIO plugin, so all is great.

The mixing desk I use for live shows and streaming is the Zoom LiveTrak L-12. Lately I started using a separate laptop to do the livestreaming, not hooked up to the studio. For a livestream I would switch over the interface cable to the laptop. Only a few days ago I realized that the L-12 itself is an audio interface and I slapped my forehead.

Sure enough, when installing the L-12 driver software and starting up OBS with the ASIO plugin, I could find the Zoom device. After assigning the master output channels to the OBS inputs it worked immediately. So now the setup is way simpler. The livestreaming laptop is hooked up directly to the mixing desk. The master mix now is hooked up directly to OBS.

Livestreaming setup simplified the L-12 connects to the streaming laptop

Now I asked myself, can I use the same trick to hook the L-12 directly to an iPad or iPhone to do livestreaming on Instagram, or other phone based streaming platforms? The L-12 can connect as a class compliant interface, so its no problem to hook it up to iOS devices. Software like Garageband will find its way in the Zoom inputs and outputs. You have to set a switch for this on the back next to the USB port.

Zoom LiveTrak L-12 Backside USB connector and switches

However, the master outputs are not output channels 1 and 2, so iOS devices cannot pick it up as the default audio input. So no easy live streaming on the iPad or iPhone directly from the L-12 unfortunately. For this you will need to hook up another class compliant interface that picks up the mix desk outputs and does output the master mix on channels 1 and 2.

Controlling Ableton Live 10+ with the Komplete Kontrol A49 revisited

A long time ago I wrote something about getting my, then brand new, Komplete Kontrol A49 to work. I played around with it and soon found out it was still a work in progress with control surface tweaks and drivers. I also found out that my struggling to get it to work then is still the number one article on this blog. When you look for instructions in your favorite search engine on how to get the Komplete Kontrol A49 keyboard to work you will get here. Now it’s several versions later for both Ableton Live and the Native Instruments Komplete Kontrol software, so It was a good moment to revisit the matter to see how things have progressed.

I am happy to report that setting everything up now is a breeze. Looking back, everything started to work straight out of the box with version Ableton Live 10.0.5. More good news, it still works straight out of the box in Ableton Live versions 11+. Support has become integrated now. From the corner of my eye I did see that there might be problems with Komplete Kontrol S series and Ableton Live 11+ versions, but I am not able to verify that. So, what does the support mean? It means that you can immediately start working with your Komplete Kontrol A series keyboard by selecting it as a control surface in the Preferences > Midi > Control Surface section by selecting the Komplete Kontrol Surface and the corresponding DAW input and output.

Ableton Live MIDI Preferences settings

This is just the start. If you downloaded and activated the Komplete Kontrol software from Native Instruments (through Native Access), you will find the Komplete Kontrol VST instrument as a Plug-ins intstrument. Drag it into a MIDI track and you will have instant Kontakt instrument browsing from your track. Now that takes some getting used to I must admit. Please note the following. Your A series keyboard display browse much more responsive then the Komplete Kontrol VST, so ignore the screen and focus on the tiny A series display when browsing. Click the Browse button on the A series keyboard to jump back to browsing at any point.

Browsing the Strummed Acoustic instrument inside the Komplete Kontrol VST

When browsing Kontakt instruments, nudge the browse button left or right to step deeper and back into the levels of browsing process. So at the top level you choose your either Kontakt instruments, loops or one shots. At the deepest level you choose your sounds. You will hear the selection audition a sound as you browse. If you push (don’t nudge) the browse button down as a button it will select the auditioned sound. This might take a while, so be patient. After that remember that you can click the Browser button again and nudge left several times to back to the top level. Keep your eye on the tiny display to see where you are browsing.

Once you inside the Plug-in MIDI button will light up and you will notice that the controls on your A series keyboard will automatically control the instrument macro’s. Again, touch the knob to see on the tiny display which parameter or macro is controlled and tweak and turn to get the perfect sound. This is how your keyboard should have worked from the start of course, but I’m happy to see how it has progressed. For all other plain MIDI control use you can still use the method of placing your instrument in a rack and MIDI mapping the controls to your instrument.

Remote control for OBS

Running a live stream with OBS can be tough if you want to have a little bit of a show and you’re making music at the same time. In OBS you can dynamically change whole scenes or switch individual sources (video clips, images, text, cameras, audio) on and off. In my case I want to launch different video clips for different songs. And I have a panic scene without camera and audio to just show that I’m busy fixing something. Fortunately OBS is full of neat little tricks to allow you to run the show with just keyboard shortcuts, or if you want to, with a push of a button on a remote control. No need to wander around with the mouse to try to hit the right spot.

Elgato Stream Deck options

One of the many options is an Elgato Stream Deck but I always hesitated to buy it. The different sizes cater for different needs, but I find it a bit pricey for just the single purpose of controlling OBS remotely. As a musician it seemed more logical to use a Novation Launchpad or other MIDI controller. The Stream Deck is the Rolls Royce option, no doubt, but it is an investment.

Unfortunately there is no standard MIDI support for OBS and also it needs to be two-way. When you push a button this sends a message and to light up the button to confirm your choice OBS needs to report back. That is what I would expect to happen on a Launchpad. You also need to map OBS events to MIDI keys. A Launchpad has very specific key sequence per row of buttons. Up to now I did not find an acceptable plugin or solution for MIDI. If you have please let me know.

Novation Launchpad and its MIDI key mapping

Maybe you noticed the mobile option in the Elgato line-up above? For the past months I controlled OBS remotely using a phone or the iPad, but I didn’t use the Elgato Mobile app. You can opt for Elgato mobile, but it has a monthly or yearly subscription model. Again there are more affordable options. All starting with installation of the websocket plug-in in OBS. There are several to choose from. I’ve used the StreamControl app the longest, but eventually reached its limits. If you have just a set of scenes to control it’s perfect. It couldn’t handle my 20+ video sources to choose from during a live stream.

Please note that if you use Streamlabs OBS you can remote control with the Streamlabs Deck app. The Streamlabs Deck app can be paired with a QR code. I have the pure OBS version running, so this is why I need the websocket plug-in and I can’t use the Deck app.

Eventually I stepped up to Touch Portal and that is what I use now. It can do your dishes, the laundry and reserve a table for your next dinner and also controls OBS. It also needs the OBS websocket plugin by the way. It has a companion Touch Portal app that you can install. I use the paid version on an iPad so I can use the full surface of the iPad to remote control so in total I invested 14 euro. I saw no other way to be fully in control and up to know it hasn’t failed me. If you have found a better way to remote control OBS during a live stream show, please let me know in the comments!

The advantages and pitfalls of a head microphone

Yesterday I did a live stream with a new head microphone or headset mic and for the first time since using it, something went wrong. Kind of spoiling an hour long live stream. Before this I used my old faithful AKG D330 on a microphone stand, but when streaming, visually this was kind of a pole with a big thing in my face. So, enter the Samson Wireless Concert 88x I chose this mic because it was affordable and suited for singing. Worth an experiment.

A big stand and microphone

A lot of these affordable headset are for sport instructors, so more intended for the frequency range of the spoken word. Also a lot of the smaller, more invisible, headset mics have an omnidirectional sensitivity. I was worried that such a mic would pick up the key clicks and foot pedal stomps. This mic has cardoid sensitivity that seems to only pick up my voice and not any of the noise from playing. Comfort while wearing is also an aspect and adjustability. On most aspects this mic is fine for me. Audio quality is a little less transparent then the AKG, but acceptable.

The first reactions on the looks in the live stream are positive. Visually this is an improvement over a big round mic on a stand. One aspect of these mics is that, because they’re stuck to your face, you can’t vary the distance to the mic anymore. Any intention or emotion you want to add, by yelling with the mic far away, or whispering with the mic close by is impossible. Some singers that want to belt with the mic far away will feel limited. In my dreamy pop songs I am missing it a little, but not a lot.

The first real pitfall I fell in was yesterday. Because I wanted to drink some water before going live a moved the mic a little bit from my face. Then in the live stream someone remarked that my voice volume was so low. I started fiddling with the faders for the mic, but only after watching back the live stream I saw that it was too far from my face. Caught by the cardoid sensitivity!

Some other downsides are when I breathe through my nose, the wind blows straight into the mic. Resulting in a rumbling sound. Also, one of my songs starts with a part where it’s like i’m calling a friend and speaking into the answering device. The design of this mic more that ever makes me look like a call center employee hahaha.

Samson Wireless Concert 88x

Another aspect is that it is a wireless model. I chose this because eventually I want to play really live again and it would be convenient. It means however that I now have to rely totally on a set of batteries. When you buy an inexpensive set like this, there is no battery indicator. For now it seems reliable in battery life and there have been no problems with the wireless connection. I’ve had maybe 6 hours of operation from the first set of batteries. I hope it won’t fail on my while playing live. Knock on wood.

I’m also the kind of person that immediately starts using a new gadget like this. Tossing aside the manual. But browsing through it after some days I found out that you should not skip reading it. Here in the studio it works out of the box on the default frequency. Live however you and I will undoubtedly have to fiddle around to find the best frequency and you need instructions from the manual to set up right.

For now this little and affordable gadget sounds good enough, really adds convenience and just looks better.

Korg VPT-1: Toy or Gadget?

A vocal pitch trainer. Any guitarist can get a very pocketable guitar tuner for just a few bucks. So why wouldn’t a singer be able to use the same? Well actually would you as a singer want one? The voice, like a violin can play any note in any tuning. Why would you want to sing a perfect 440 Hz A when other instruments around you are not in tune? Another one is that sometimes you put some ’emotion’ and ‘glides’ in. your singing. That would be lost if you would sing perfectly pitched.

To set you up right. I’m now in the vocal coaching program of Tiffany van Boxtel. I wanted to improve my live singing. Her main goal is to give you confidence while singing. Singing in tune is just one aspect and in her program its NOT the main focus. Better sing with confidence and connect with your audience than sing totally in tune is the motto. The coaching program is awesome for me.

Enter the Korg VPT-1. Its not very expensive, but then again its 4 times as expensive as an entry level guitar tuner. When you switch it on, it immediately shows a level, starting at Easy. The top control toggles between Easy, Medium and Hard. Then when you sing a note appears on the bars on screen. For me it was more useful to see the note letter and octave. For this you can use the middle control. It also sets your center note. It starts at A4 but i set it to C4. Then the bottom control plays the note but with a simple toy-like sound.

Then there is a blue indicator and a sharp red indicator and a flat red indicator. Blue lighting up shows you that you are singing in perfect tune. Red sharp means: higher then perfect tune. Red sharp means: lower then perfect tune. The idea is that if you sing scales the right notes show and the indicator is mostly blue. On level Easy that is easy and on Hard its hard. Simple as that.

Now how does this work in practice? One of the most important things I have learned is to warm up the voice before performing. I use a standard warm up exercise with scales. This is where I now pick up the VPT-1 to just check that indeed most notes light up blue and that gives me confidence. I can see that at the start of the exercise there are more red notes and slowly i get into the blue zone. I do not switch to medium.

For me now using it this way its not a toy but a gadget. It would probably be no use for me while singing otherwise. You have to hold it close to your face to pick up your voice correctly. For just the warm up, which is its perfectly in tune, its fine. Then another exercise is lip buzzes. The VPT-1 does not handle that at all. It doesn’t recognize lip buzzes as notes. All in all I hope you find this information useful. Let me know how it works for you if you have it.