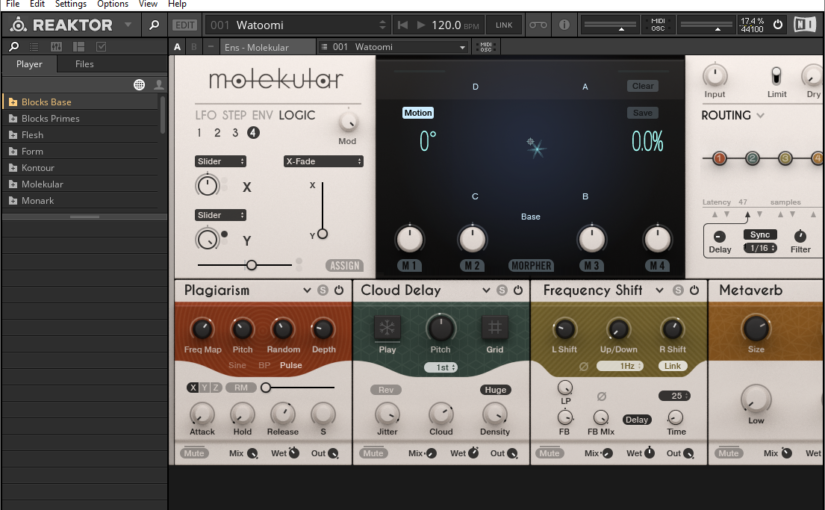
In the last post AI generated images are still not perfect, but why? I touched upon using your own images to train your own AI model as a LoRA. What I didn’t tell you then was that I actually trained this AI model on my own PC with ComfyUI. The advantage of this was that I did not need to upload my personal images to some AI training service online. With free services, you can be be sure that your images will used by others to train their AI models. If you want your images to remain private, all you can do is to check the end user agreement and even then with a paid service you can’t be sure.
Understanding generative AI
What do you need to do this on your own system? It is quite complex, so let’s first go through the basics. When people talk about AI now it is services ChatGPT, Stable Diffusion and Suno. Services that allow you to do magic. Somehow ChatGPT is able to chat as well as generate images. Stable Diffusion only generates images. Suno generates music. Under the hood there are actually two AI technologies. ChatGPT uses a Large Language Model (LLM) to chat. All three use Diffusion Model to generate images or music.
An LLM has been trained with endless lines of text. In the end it is able to predict the next word or part of the sentence based on earlier sentences. There is actually not that much intelligence in that, but recently there is an additional model trained with methods to understand intentions and meanings in text. When prompted it now uses the additionally trained model to improve the otherwise random chat answer.
A Diffusion model is endlessly trained with the media it is supposed to generate. Images, sounds or music, but every image, sound or piece of music is described in text in keywords in detail. The model is trained with the media step by step fading into noise. When applying the model it is used to create an image from noise, based on a prompt where the keywords start activating it to generate an image, Hence the name diffusion. Again there is no actual understanding of the prompt here. Just picking up keywords.

When asking for a cat that flies, you will see a cat flying through the air. There is no intelligence behind it. Newer AI tools introduce combining LLM and Diffusion to generate an image with more intelligence behind it. It might decide that the correct way to let a cat fly is to give it wings or a flying machine.
It will not be easy to train your own Diffusion Model or even LLM. This requires unimaginable amounts of training data and computer time to train the, indeed, very large models (terabytes) to start creating images, sounds or music. The model will even be too large to work with on your own system, terabytes. For this purpose the model will be ‘distilled’. This means simplified or boiled down to only essential data, by training a new smaller model with the larger model. This will mean that on your own system, the generated media will be less detailed and less accurate, but don’t worry it will still be good enough to generate media for your socials.
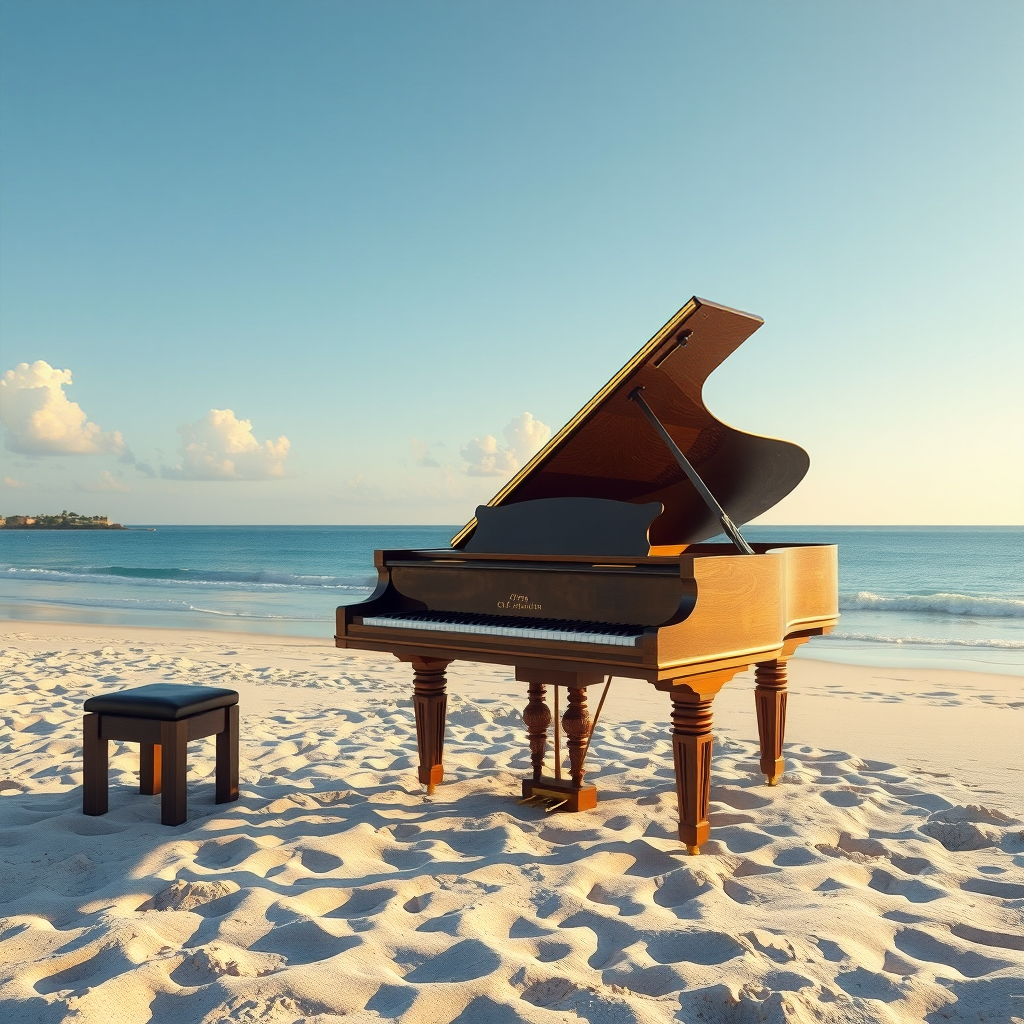
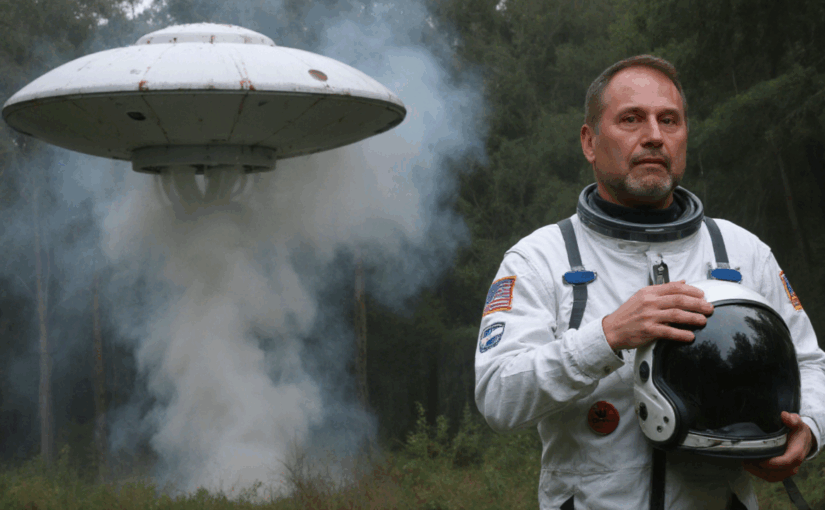
Then the concept of LoRA’s, Low Ranking Adaptations, These are AI models based on smaller training sets (for instance 20 pictures that you took from yourself, supplemented with keywords that describe the image accurately) that will be merged with the big model in a clever way to combine the keywords from all models combined to generate media. This works so well that it is a legitimate way to generate very complex images where indeed you can be figuring in a generated image.
Home brew Diffusion with ComfyUI
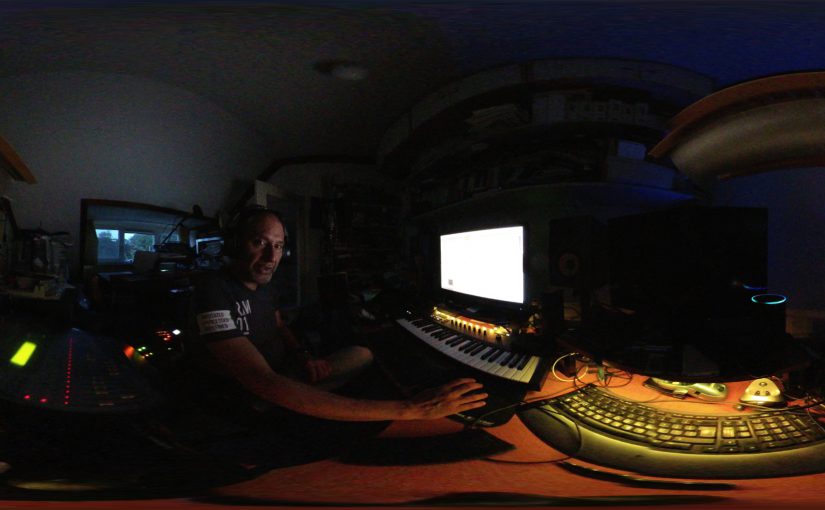
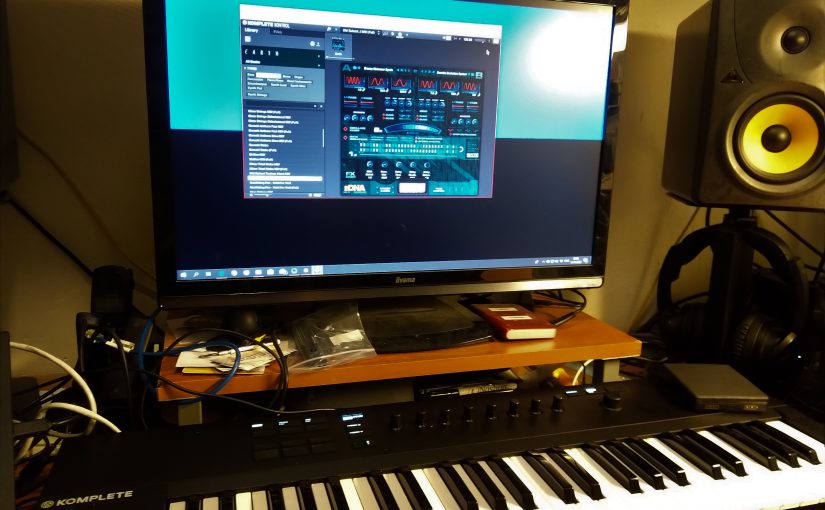
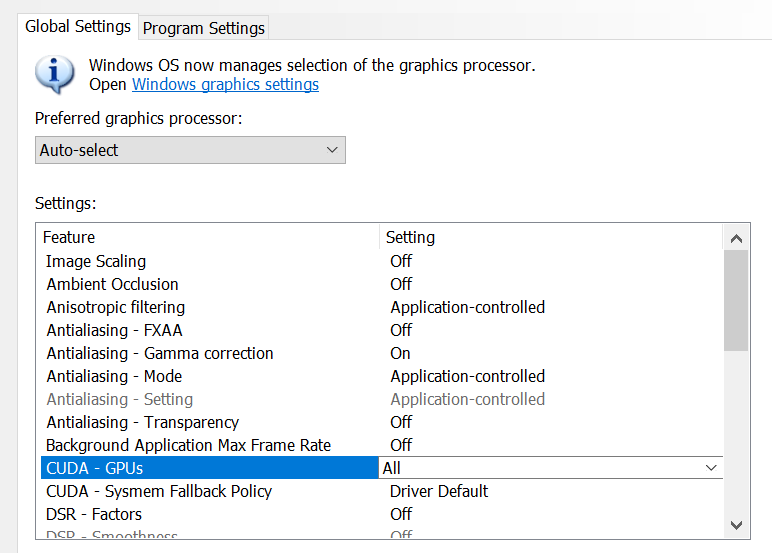
A LoRA training set is small enough to train the model on your own PC or laptop. You just need the right tools. So I use ComfyUI and for image generation I chose Flux diffusion models. ComfyUI is a very powerful toolkit for using or training Diffusion models. Please note: your system needs to be equipped with enough suitable processing capacity to start working with AI. The most accessible form of AI processing capacity can be added to your system with a suitable graphics card and software (Nvidia CUDA or Apple Metal).
Then the next challenge is that ComfyUI is a tool that needs to be programmed with a workflow. The tool comes with workflow templates that instantly get you started generating images, video and sounds. There is now a LoRA training workflow as a template, but it seems to be very basic. Fortunately there is a large community that uses ComfyUI and creates training workflows to get you started. However the technology moves fast so you might have to scan for updates and programming skills will come in handy.
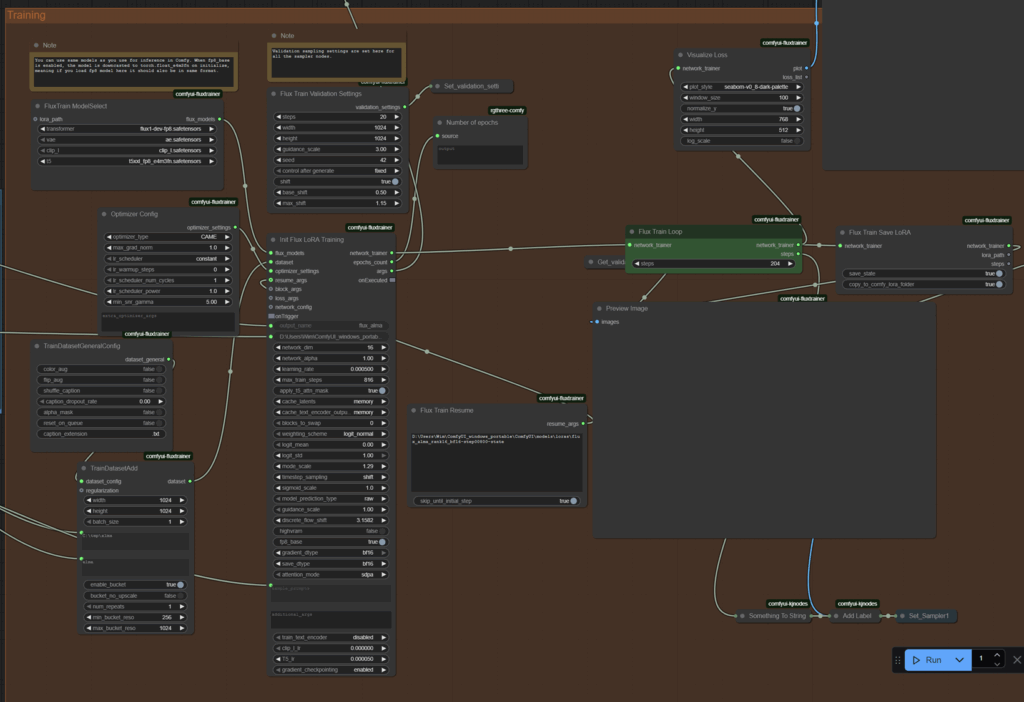
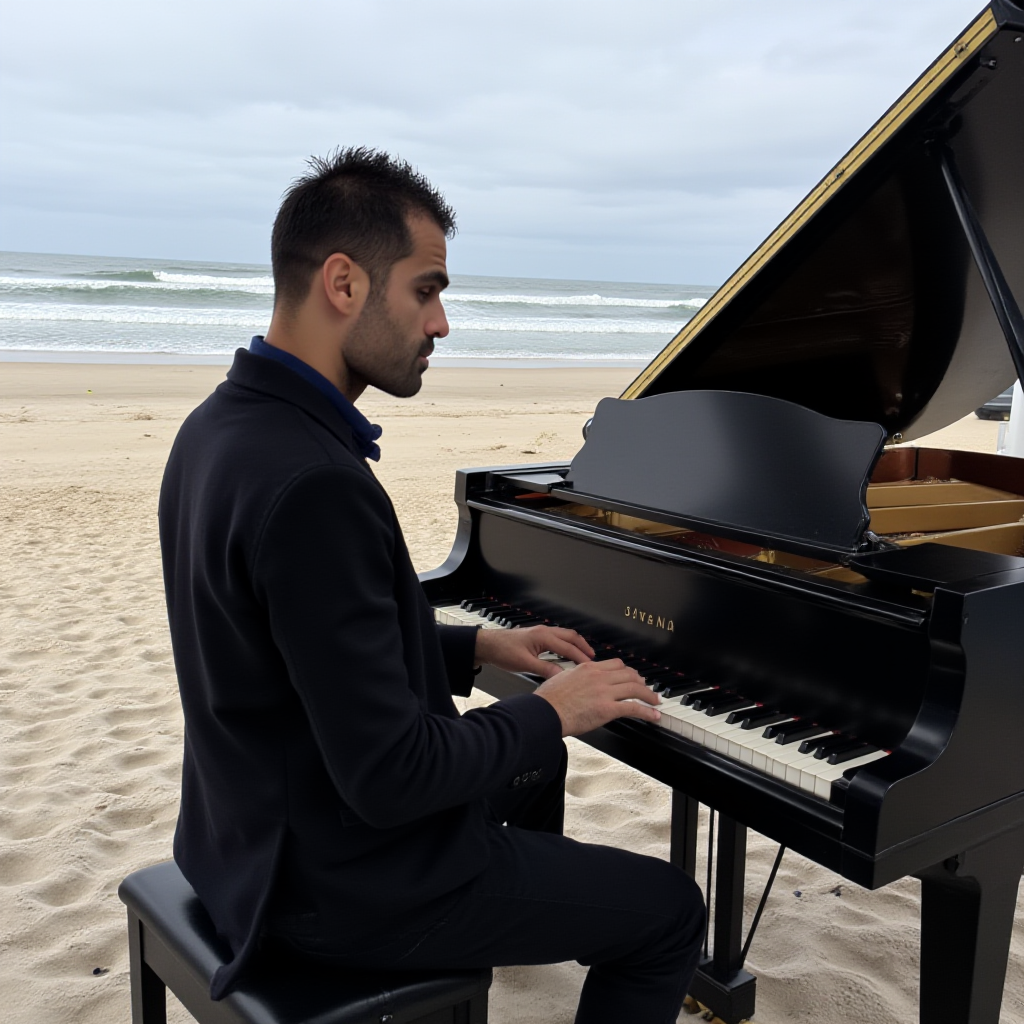
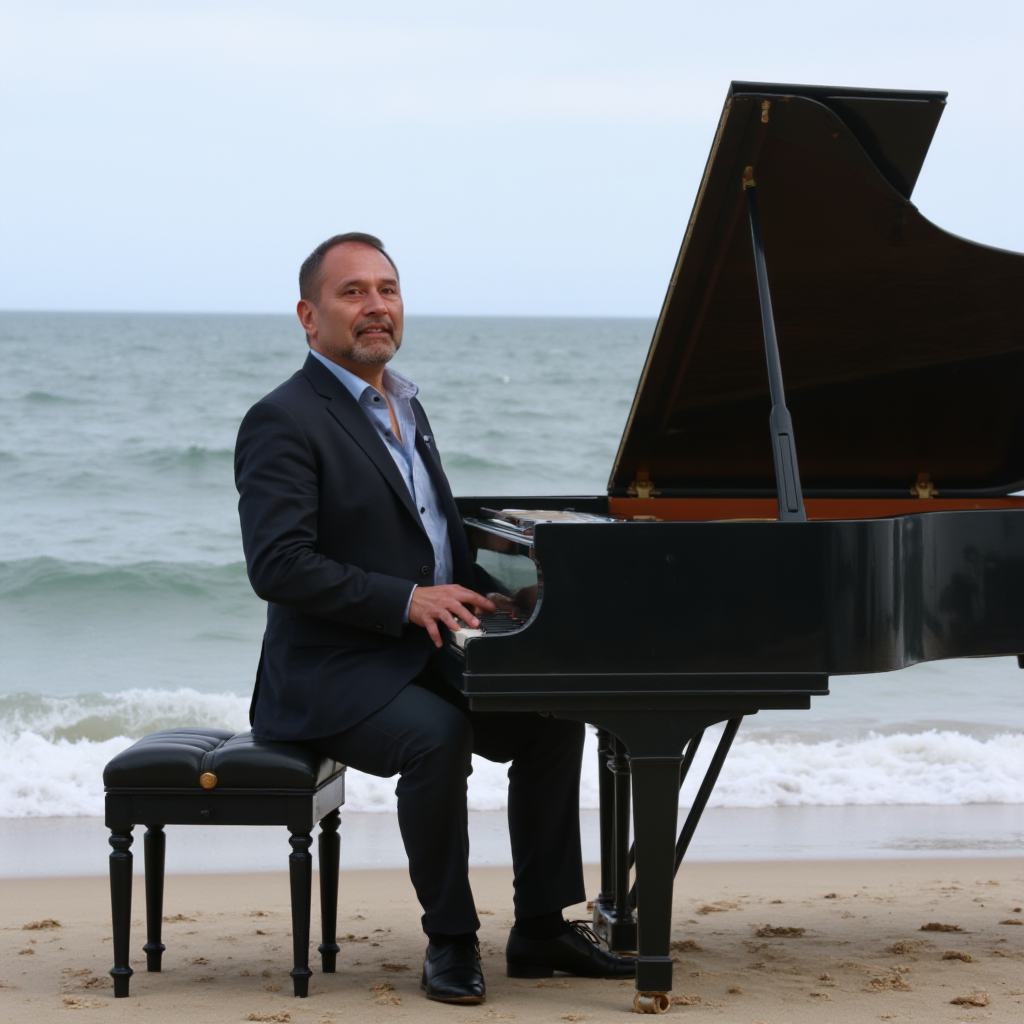
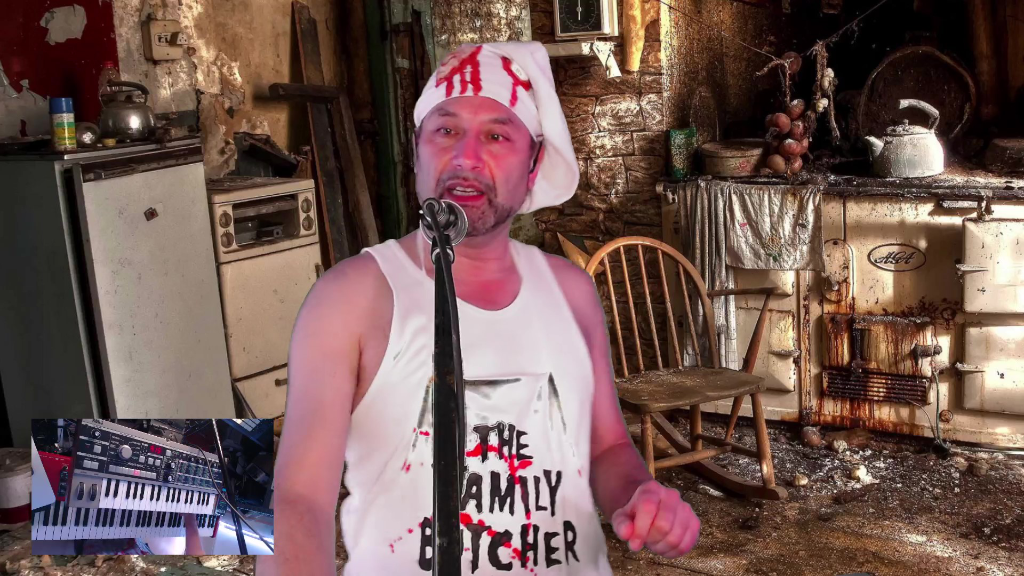
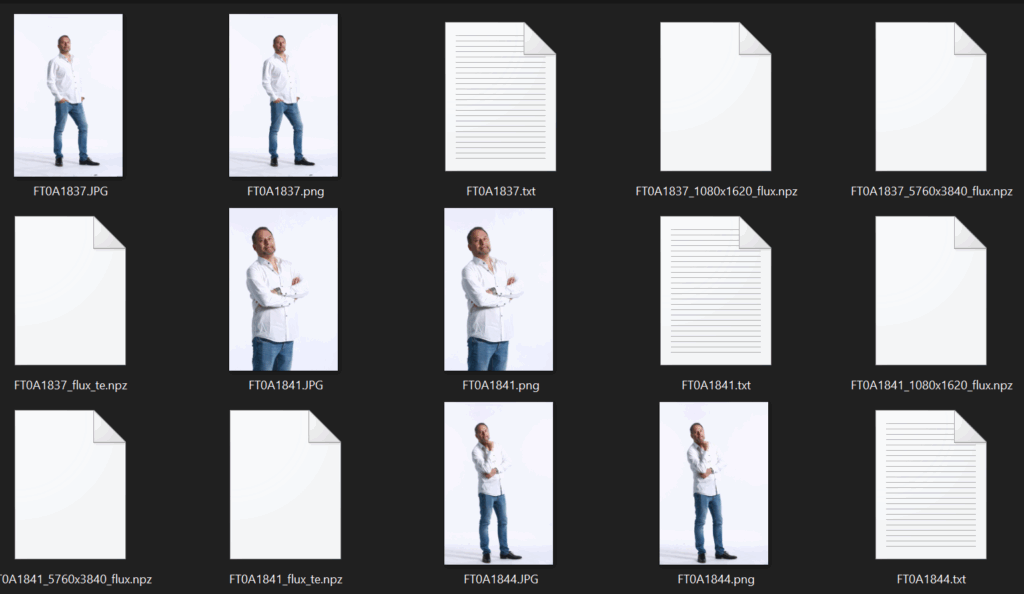
You will need 10 to 20 images of the person, style or object you want to train. Add keyword descriptions of the images if you want to be able to use the trained LoRA in your prompts. I used 10 pictures of me. Smiling, looking serious, looking right, looking left and with keyword texts that always mentioned my name. Then when I add the LoRA model to a workflow I can use my name to generate an image with me in it.
If you are have any questions getting this to work on your home system let me know. Happy generating!