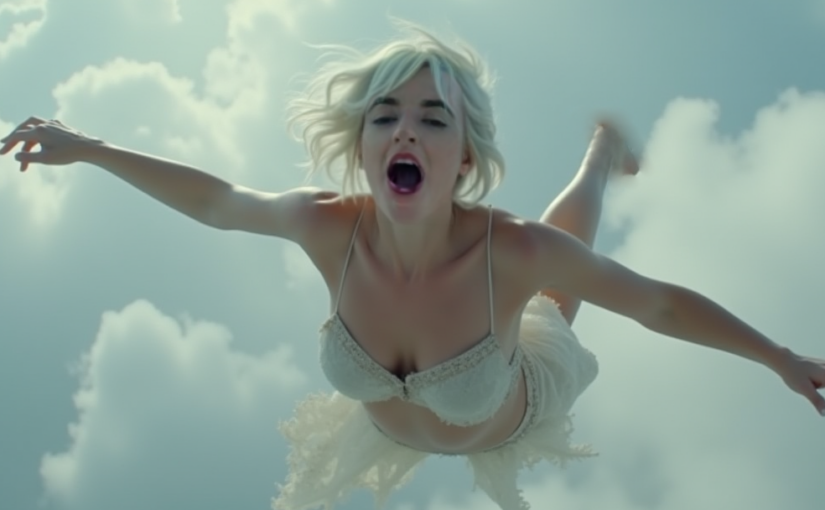
So I enjoy making pretty visuals that go along with the music, photography and video. It is always tricky to get what you are looking for. And what if you want a video of a burning car, or a picture of a woman falling from the sky? Meet the new kid on the block: AI. Wouldn’t be great if you could prompt your perfect AI generated image or video? Anything you wish for and then get it. Ready for use in any music visual? Sign me up!
Maybe you tried it like I did. Prompt something interesting or funny in Dall-E and and then the results were either amazing or hilariously bad. Well, lets look at it this way. Pandora’s box is open and there is no way it will close again. At first I dismissed AI imagery as uncontrollable, but these last months I found a a way to control it. I will explain how and then probably you will see why i still feel like I’m collaborating with a sorcerer’s apprentice.
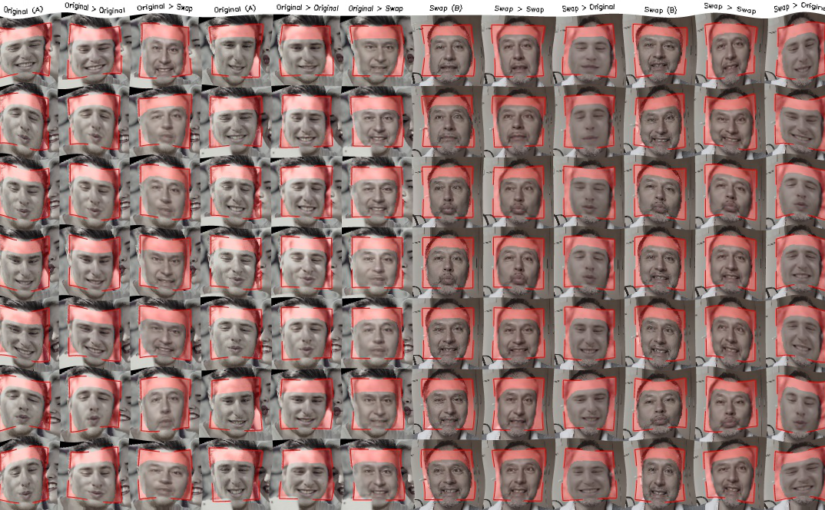
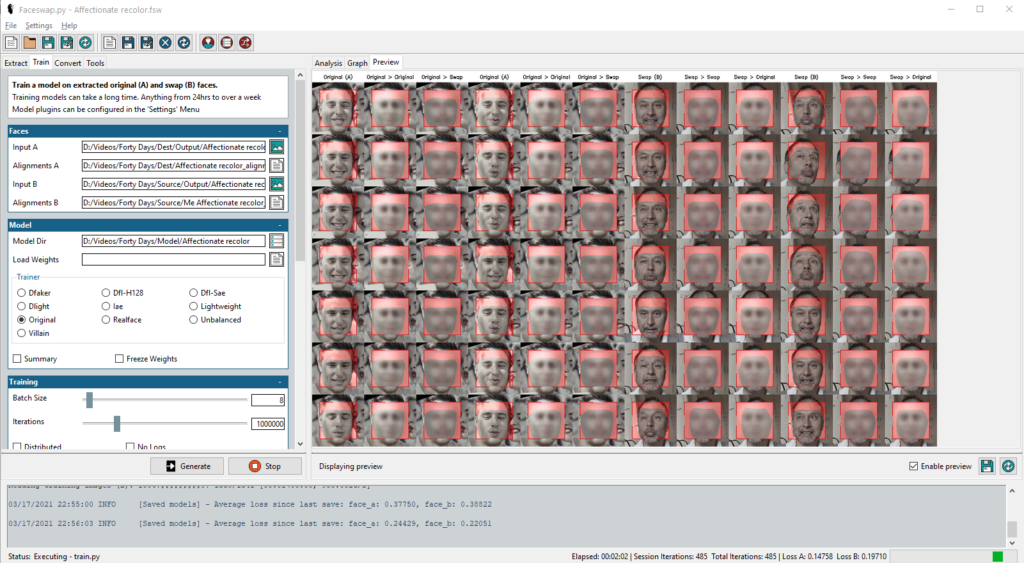
In this article I will try to explain how generating images with AI works. And I will try to explain recent progress that has been made so you see that much more is possible than you maybe suspect. All my findings resulted in the AI generated images you find in this article and yes they are sometimes amazing and sometimes hilarious. I did at one time write about faceswap techniques, another way to use AI in much the same way. The old article is now a bit dated. Lets first understand more about image generation.
Training the sorcerer’s apprentice
There are many online services that offer magic straight out of the box. But what happens behind the curtains is well hidden. For all services it all starts with tagged visual content. Images with textual descriptions that correctly describe what’s in the picture. AI is just about recognizing patterns and qualifying these. So how is it possible that an AI generates something?
A clever trick is that people found out you could pit two AI’s against each other. Imagine a student and a teacher. The student AI (generator) is good at messing around with an image. Starting with just random noise. In endless cycles it shows the results of messing around with the image and showing it to the teacher AI (discriminator). The teacher then gives a grade that indicates which result better matches the given prompt. This resulted in generation of deepfakes.
Then came the idea of Diffusion. Train a neural network with carefully labeled images to start generating images from noise. The keywords would describe how to get from just fuzzy noise to an image of a car. Or from fuzzy noise to a grinning man or a sad woman. Imagine a neural network trained with endless categorized and labelled images. Next when describing your image you could ask for a grinning man and a sad woman in a car, driving in the streets of Paris.
But the problem is that the AI is mindless. Even though the image can match the prompt it doesn’t have to be realistic. Five fingers or six? Eyes a bit unfocussed? An extra limb? It is best compared with dreaming, sometimes even hallucinating. There is no logic that corrects the result, just random luck or accident. It seems that the human touch is to maybe be able to imagine things, but then make sure it is within the bounds of reality. The wizard’s apprentice is doing some uncontrollable magic.
AI generated images come at a cost
The whole training process and the the work of of generating images costs a lot of time and computing power. You will always have to pay in one way or another for generating images, let alone video, which is just lots and lots of images. In the case of video another AI trick needs to be done. Guessing what image will follow another image and have this pre-trained and processed. More training, more time, more computing power.
Create your own magic
Getting a lot of images and having them all perfectly described is the magic sauce of AI imagery. This is what diffusion needs to make the right images. It determines what kind of images can be generated and also the quality. All images are turned into small markers and then there are clever algorithms to find and combine the markers (vectors) to recreate an image. By sampling to navigate these markers you can start to generate images that somehow match the prompt..
Now is it possible to have an AI generate a specific person? Specific clothing? Specific settings? Yes this is possible. If I pretrain with only images of me, carefully trained with images of me doing all kinds of things, the result will be that I’m the main character in all generated images. If you then prompt “A man playing a violin on the beach”, it will be me playing the violin. Now hopefully there were also images of playing the violin and images of a the beach. But so many images with correct descriptions? An almost impossible complex task it seems.
Or tame the magic
Let’s assume you don’t have these large sets of perfectly described images to pre-train. Now here is progress of the whole AI image generation in the past year. Imagine that you can start with a well pre-trained set of markers with lots of well described images. Clever people found out that you can just add to any of this AI generating stuff a few hints, a Low Rank Adaptation (LoRA). For images, imagine this. Take a smaller set of well described images and allow these to just tweak the results of the original sampling of a pre-trained set of images. And you trigger the results with new keywords in the descriptions.
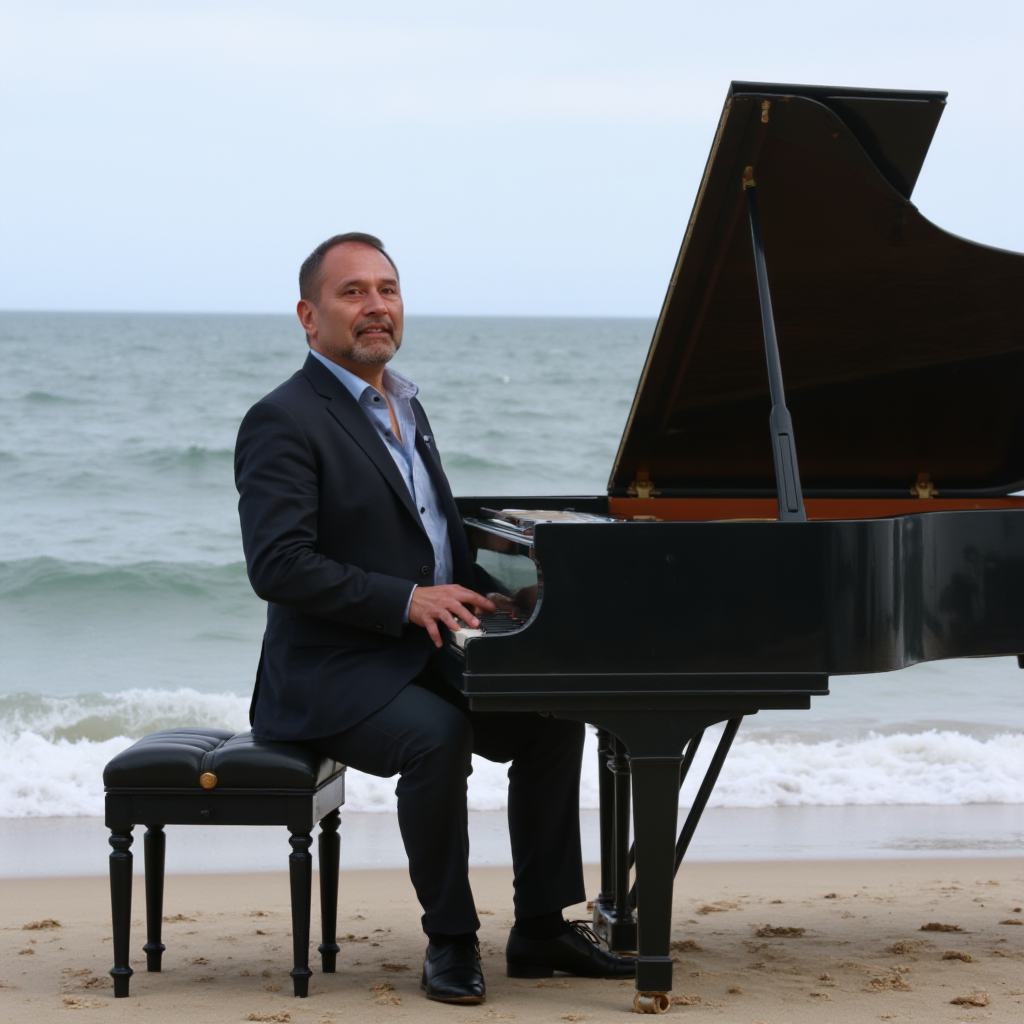
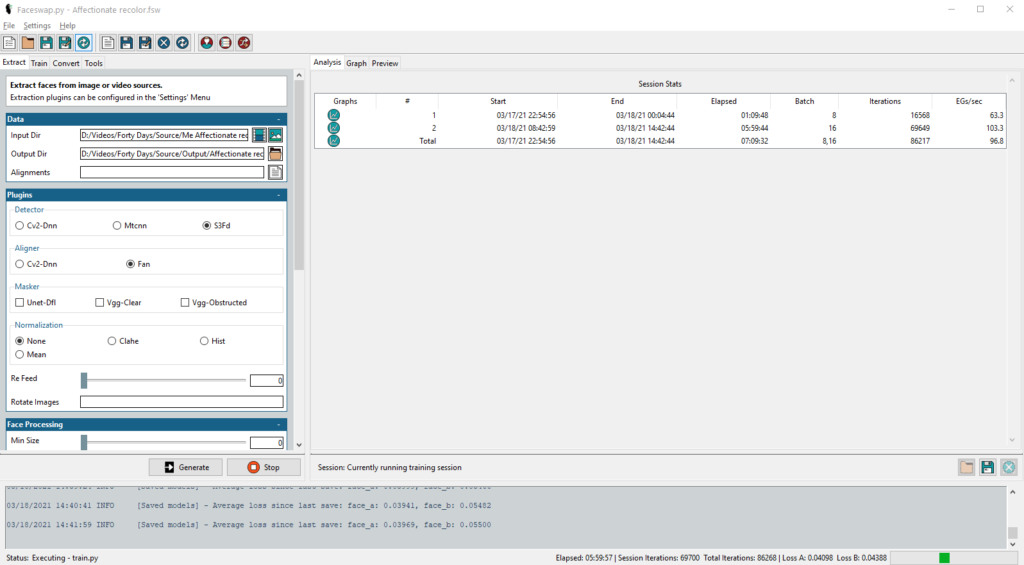
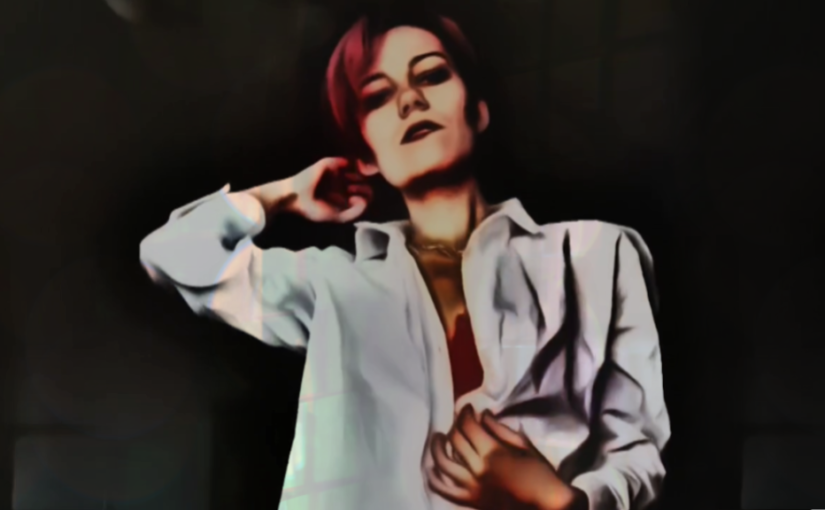
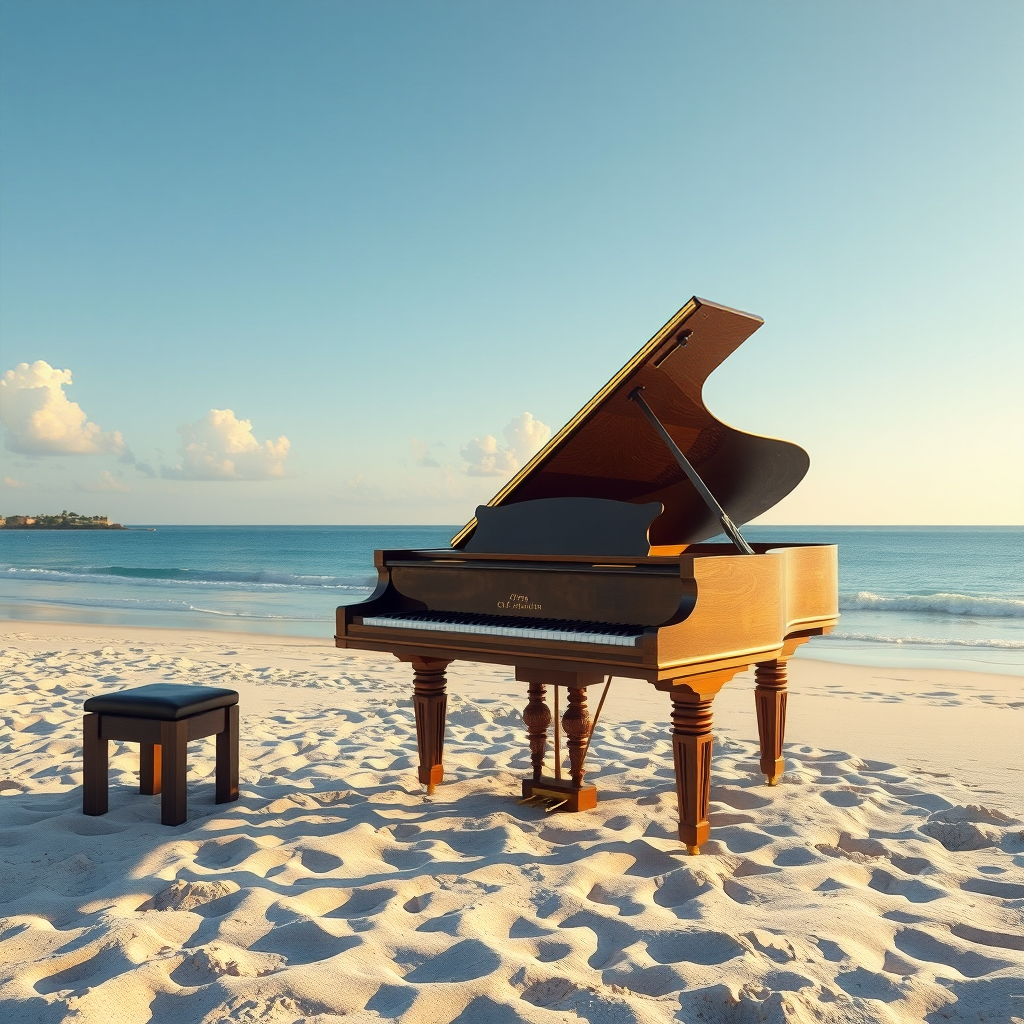
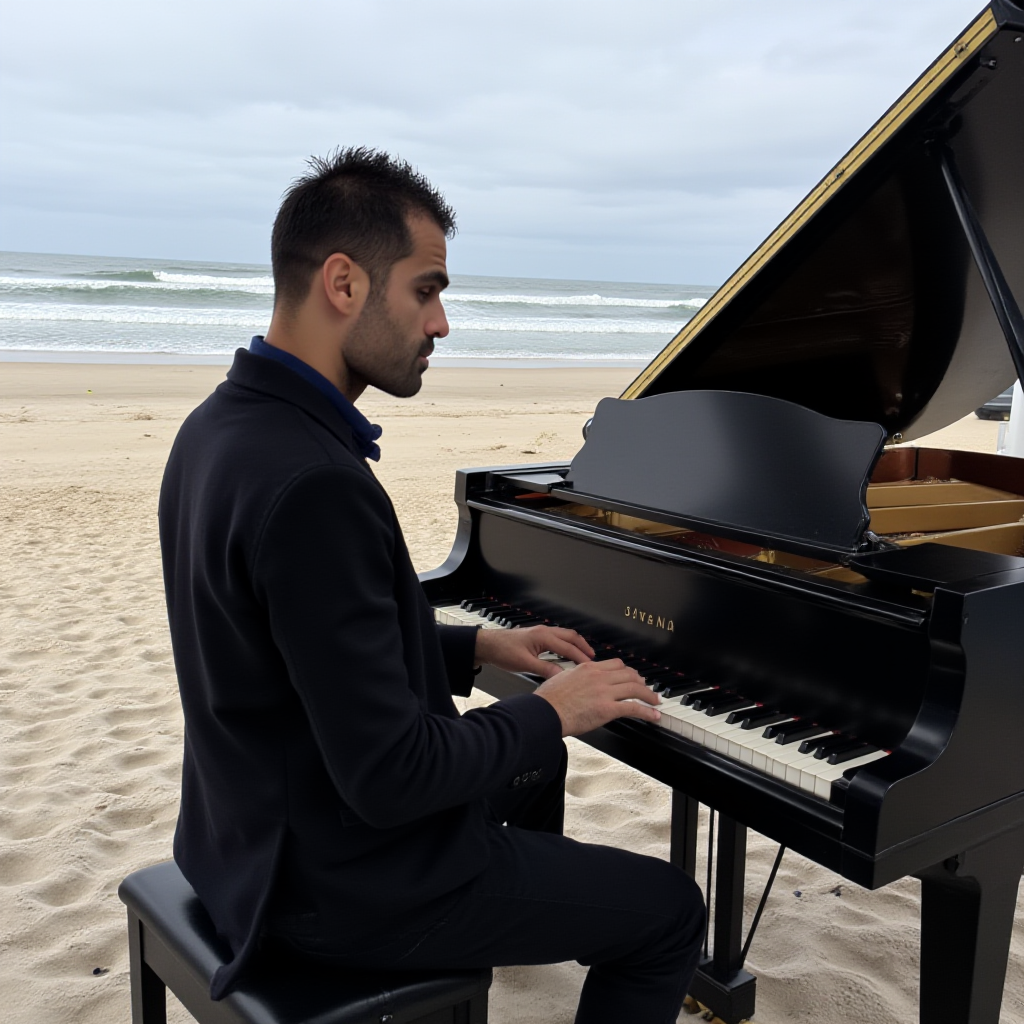
The results are stunning. I found a way to get this all working on servers with enough computing power. Starting with a good pre-trained set of general purpose images called Flux, I then learned how to start training LoRA’s with a dozen or so images of me and descriptions. Now i can simply ask for an AI generated image of me playing the piano on the beach. Flux knows how to get to an image of someone playing the piano on the beach. The LoRA knows how to make this picture look like me. Of course I trained a LoRA with a set of pictures of myself. I trained it with a set of pictures of Alma, my imaginary persona. When Swiss DJ Oscar Pirovino visited me for Amsterdam Dance Event he wanted to participate and I generated another LoRA.
The computing power needed is still immense, but now the results are much more controllable. The Flux pre-trained set is good enough to make sure that I can generate a nice photographic setting. A small set of well described additional images can tweak the results to have me, Alma or Oscar in the picture every time. The results are still unpredictable in details of course. In a way the results of a photoshoot are also a bit unpredictable, but in a real life photoshoot I can rearrange stuff and try different poses on the spot. No doubt AI generated images are getting there and maybe in a few years it will be just like a photoshoot. We will see!