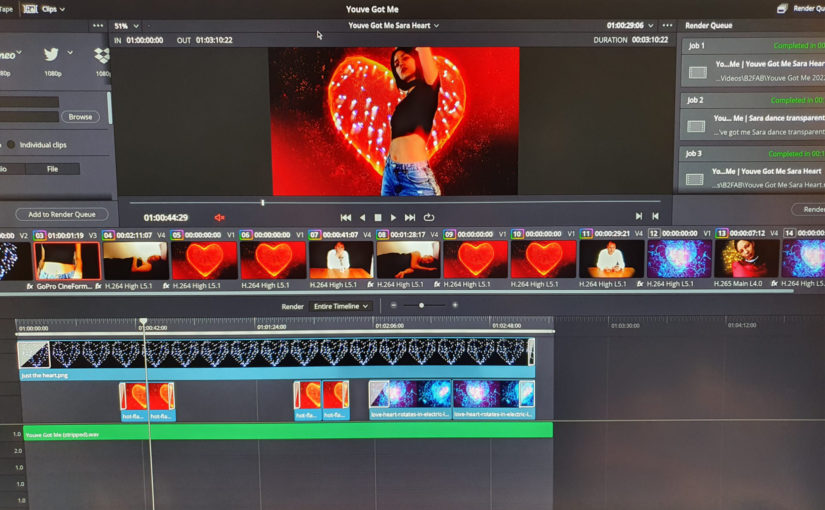
The start of this year is already well on it’s way and I wanted to start it right with an upgrade to the studio. As you know I am into making music, but also video content that goes with the music. In the end video clips, but I like to think more about it as “visuals for the music”. A way to tell the story of the music again, but different. Working with 4K content is quite normal for me now, even though the end result might simply be an HD 1920×1080 YouTube video, or even a 1080×1080 Instagram post. In the end 4K can really make the difference and will also affect the quality of your lower resolution end result.
A 4K display has now become a no-brainer. I invested in a 32 inch ergonomic screen with good, but not high-end, color reproduction. The LG Ergo 32UN88A also fitted nicely on my desk. Immediately after connecting the screen to both my studio PC and a Thunderbolt laptop dock the problems started. Blackouts. Every minute or so the screen would just blackout on both devices. Both should be able to drive a 4K screen, but nonetheless it seemed to fail. Maybe you immediately know what happened, but I was stuped.
My fault was that I was just too new to 4K upgrades like this. So I had to find out the hard way that there is more to hooking up a higher end display like this. Yes, there are limits to driving a 4K screen. One part of the chain is the video output, but the other is the cabling. I had to learn the hard way now that HDMI cables have specifications. Up to now I only had a 1920×1440 to drive maximum and that turned out to be easy. I had to run to the shop and buy new cables. Cables with specs that could meet 3840×2160 and 60Hz.
After connecting that only the laptop dock kept flickering and I had to turn down the refresh rate to 30Hz. A dock like this is not the same as a video card. I do have a Thunderbolt external video card, but I only want to start that up when playing games. It makes quite some noise and is not suited for studio use. So just as I found out in live streaming that not any PC USB bus can drive multiple HD cameras, using 4K displays is a good way to tax any connected PC or device and the cabling. So if you are thinking about upgrading your studio workhorse, be prepared!
Another thing might be that the picture I shot above is from editing video in Blackmagic DaVinci Resolve Studio. The moment I started Resolve for the first time on a 4K screen the UI was microscopic small! It was completely useable, but totally not how I expected to work with Resolve. After some googling I found out that in order to see the normal layout on a 4K screen, you need to make the following changes to your system environment variables:
QT_AUTO_SCREEN_SCALE_FACTOR: 1
QT_DEVICE_PIXEL_RATIO: 1
There is a good chance you already have a 4K display, or maybe even multiple. If you don’t and want to upgrade you may be warned now that it might just not be a simple and light upgrade.
