This is my first adventure with Deepfake technology. This blog is intended to show you how to get you started. In short its actually a technology that has a very dark side where it seems to be possible to make photo’s that show faces of people in videos or photo’s they’ve never appeared in by swapping faces. It can be done very fast and usually very unconvincingly by some apps on your phone.
The full blown and latest software can actually let politicians or your neighbor do and say crazy things very realistically and this way can corrupt your believe of what is truth or fake. Very scary. It also has a very creative side. Why can’t you be a superhero in a movie? I experimented with this creative side.
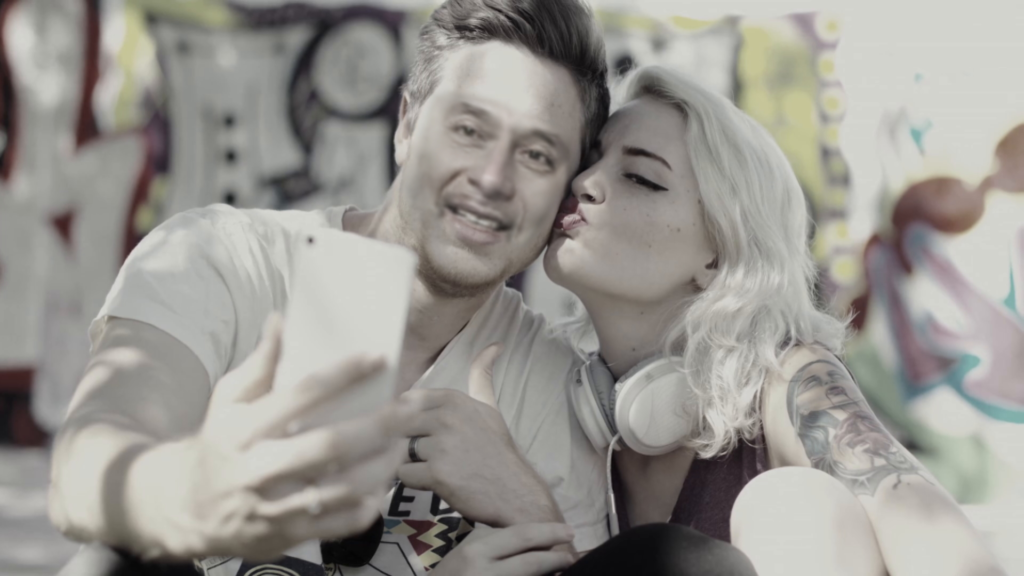
A new song for me is a new story to tell. Then a second way to tell the story is with a video clip and I like to tinker around with new ideas for video clips. Most musicians leave it at just a pretty cover picture and dump it on YouTube, but I like to experiment with video. There is a new song that is in the making now and I already found beautiful footage with a girl and a boy. The first step I take is to make a pilot with the footage and ask people if they like the concept of the clip.
Then I bumped into someone very creative on Instagram and when I showed the video it triggered some crazy new ideas. Why not make the story stronger with flashbacks? And there I thought why not swap myself in those flashbacks? The idea to use Deepfake technology was born. But how to get going with Deepfake?
Tools
First investigations led to two different tools: DeepfaceLab and Faceswap. There are many more tools, but in essence its probably all the same. Extraction tools to find faces in pictures. A machine learning engine like Tensorflow to train a model to swap two faces and converter tools to generate the final video. For you machine learning may be magic, but I already knew it from earlier explorations. Simply said its possible to mimic the pattern recognizing (read: face and voice recognizing here) that we humans are so good at.
Machine learning
Machine learning in the form that we have now in Tensorflow requires at least somewhere in the range of 1000 examples of something to recognize and the correct response to output when something is recognized. By feeding this into the machine learning engine it uses it can be trained to output a picture with a face replaced when recognizing the original face. To be able to make a reliable replacement the original and replacement data have to be formatted and lined up to make automated replacement possible. One aspect of the machine learning process is that it benefits a lot by GPU processing i.e. a powerful video card in your PC. This is important because current training mechanisms need around a million training cycles.
I chose Faceswap, because for DeepfaceLab it was harder to get all the runtimes. Faceswap has a simple setup tool and nice graphic user interface. The technology is complex but maybe I can help you getting started. By the time you read this there are probably many other good tools, but the idea remains the same. The Faceswap setup first installs a Conda Python library tool. Then all the technology gets loaded and a nice UI can be launched. There is one more step you need to do. You need to find out which GPU tooling you can use to accelerate machine learning. For a NVidia graphics card you will need to have CUDA installed.
Step 1: Extraction
The first step is actually getting suitable material to work with. The machine learning process needs lots of input and desired output in the form of images. At least around 1000 is a good start. This could mean 40 seconds of video at 25 fps, but 10 minutes of video will work even better of course. You can expect the best results if these match up as closely as possible. Even to the point of lighting, beards, glasses etc. If you know the target to do the face swap on you should find source material that matches as close as possible
Then its extraction time. This means already applying machine learning to find faces in the input and then extract these as separate images. These images contain only the faces, straightened up and formatted to get them ready to be used for the face swap training process. You need to extract faces from both the target and source video. For every face image the extraction process also records where the extracted image is found and how to crop and rotate the face to place it back. These are stored in Alignment files.
After extraction you need to single out only the faces that you’re interested in in case there are multiple faces in either source or target. From that point you can go to the next step, but the quality of the end result depends very much on the extraction process. Check the extracted images and check them again. Weed out all images that the learning process should not use. Then regenerate the associated Alignment files. Faceswap has a separate tool for this.
Step 2: Training
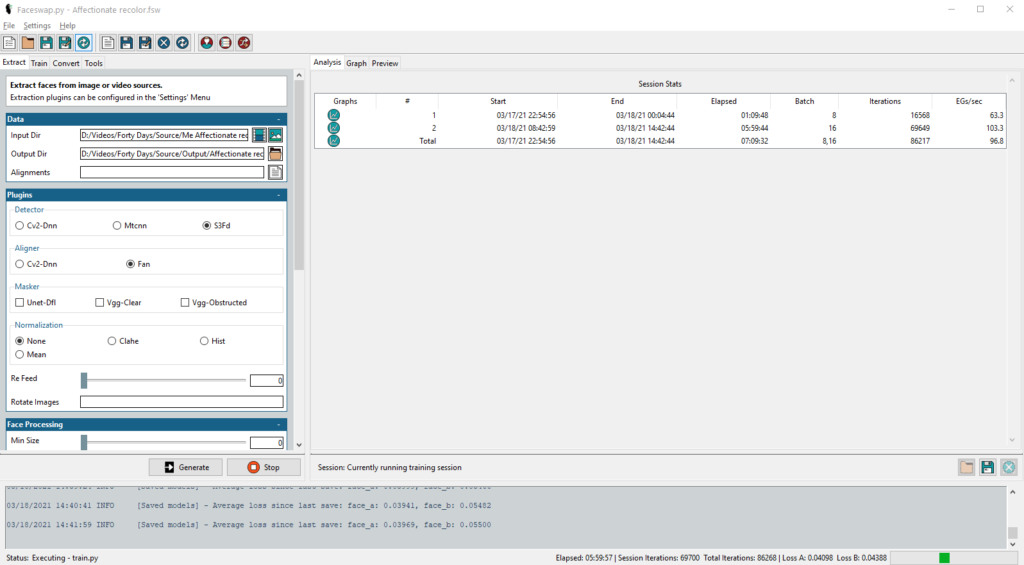
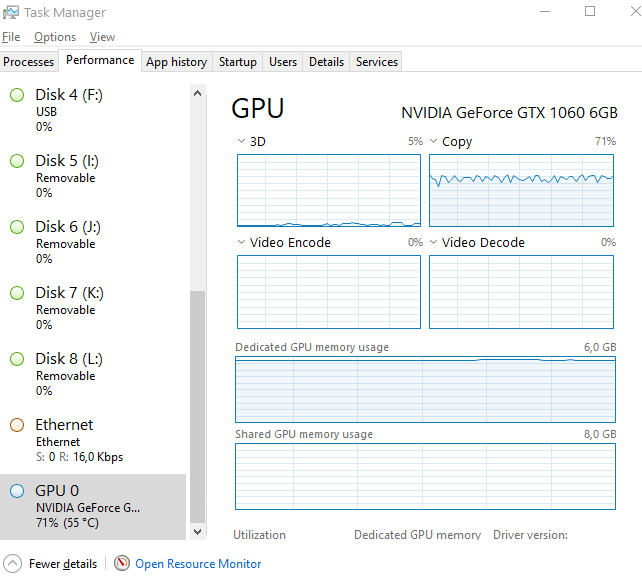
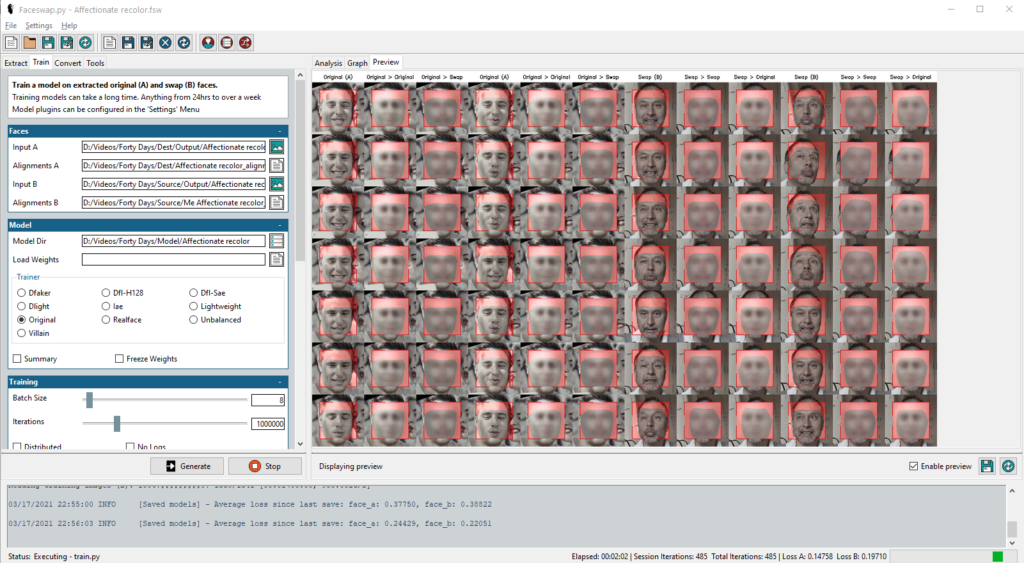
By passing in the locations of the target (A) and source (B) images and Alignment files you are ready for the meat of the face swap process, the machine learning training. Default settings dictate that training should involve 1.000.000 cycles of matching faces in target images to be replaced by faces in the source images. By default for all machine learning the software hopes that you have a powerful video card. In my case I have an NVidia card and CUDA and this works by default. If you don’t have a video card you can work without one. I found it slows the process down by a factor 7. My GPU went from 35% usage to 70% usage.
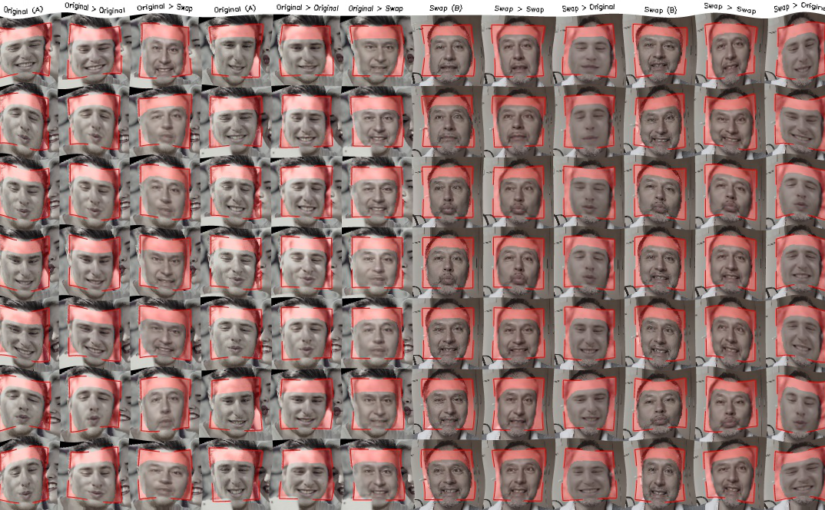
In my experiments I had material that took around 8 hours to train 100.000 times, so it would take 80 hours to train 1.000.000 times. Multiply that times 7 and you know its a good idea to have a powerful video card in your PC. During training you can see previews of the swap process and indicators for the quality of the swaps. These indicators should show improvement and the previews should reflect that. Note that the previews show face swaps vice versa. So even at this point you can switch source and target.
I saw indicators going up and down again, so at some point I thought that it was a good time to stop training. I quickly found out that the training results, the models, where absolutely useless. Bad matches and bad quality. At that point I went back to fixing the extractions again and rerunning the training. Much simpler, if the previews show fuzziness of the swap, the final result will also be fuzzy. So keeping track of the previews gives you a good idea of the quality of the final result. The nice thing about Faceswap is that it allows you to save an entire project. This makes it easier to go back and forth in the process.
Step 3: Converting
This is the fun part. The training result, the model, will be used to swap the faces in the target video. Faceswap generates the output video in the form of a folder with the image sequences. You will need a tool to convert this to a video. The built-in tool to convert images to video didn’t work for me. I used stop motion functionality from Corel VideoStudio. If the end results disappoints, its time to retrace steps in extraction or training. Converting is not as CPU/GPU intensive as training. You can at any point stop the training and try conversion out. Then when you start training again it builds on the last saved state of the model. If the model is crap, delete it and start over.
Here is a snip of the first fuzzy results. The final end result is not yet ready. Mind you, the song for the video clip is not yet ready. I will share the results here if it is all done. I hope now this is start for you to try this technology out now for your video’s! Please note that along the way there are many configuration options and alternative extraction and training models to choose from. Experimenting is time consuming, but worth it.
One more thing. Don’t use it to bend the truth. Use it artistically.