Last Friday I had a Halloween themed livestream in OBS. I wanted point the viewers to my upcoming song release and I wanted to play back a video with an interview I had with Pi.A about our collaboration on the new song. I tested everything in the afternoon and in the evening it turned out that there was no sound on the stream from my audio system. Bummer. After restarting the stream seemed to work again. Just a touch of real Halloween horror? I hope I can help you troubleshoot or make more advanced use of audio mixing and routing in OBS.
I spent this whole afternoon checking and rechecking my audio mixing and routing in OBS and I found no problem at all. It turns out that these things just happen. Let’s say that that is the charm of performing live, lol. However, it was something that had been long on my list to check out thoroughly, because I also had problem earlier with audio. So here is a recap of everything I know now.
Since you are probably a musician reading this, I won’t bore you with mixer basics like dBs and I’ll assume that you know how clipping sounds on audio output. I will also assume that you have no interest in Twitch Video On Demand stuff that is baked into OBS, because it is more geared towards gaming streamers.
It all starts with the sources
Every OBS source that outputs sound will appear in your center Audio Mixer panel. You can adjust the levels to your needs. Green is the safe area. Yellow is where your speech and music should ideally be. Red is the danger zone where the dreaded clipping might occur. You can mute a source to make sure it will not be recorded or streamed. By default all audio sources will be mixed to your stream or recordings.
OBS for now misses a master output level indicator. It might be added in the future. So if you mix in many different sources you end up guessing if the output will be OK. For now I exclusively mix the ASIO source, so that makes it easy to make sure the output is right. I mix in the Desktop audio just in case I have a sound from the PC I want to quickly mix in.
Just to be sure I added the Limiter as a filter. It’s not impossible to get an overcooked sound in the livestream, but the risk of clipping or overcooking goes down.
On the right track
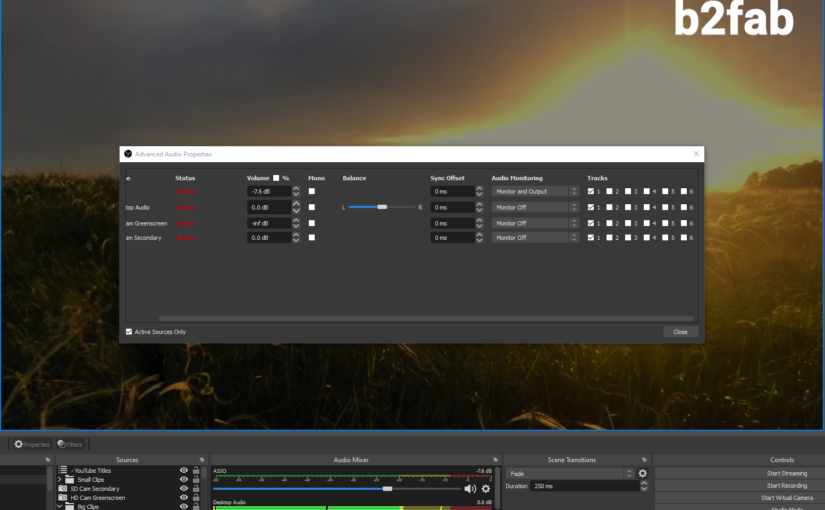
If you right click in the Audio Mixer section you can go to the Advanced Audio Properties. Here you see all your sources, that is to say you can still choose to see only active sources. I have more complex scenes where I choose per song I play live which sources are active. On the right side you will see a block of six Tracks. These are stereo tracks you can mixdown to, so in fact you have a mixer before you with six stereo tracks.
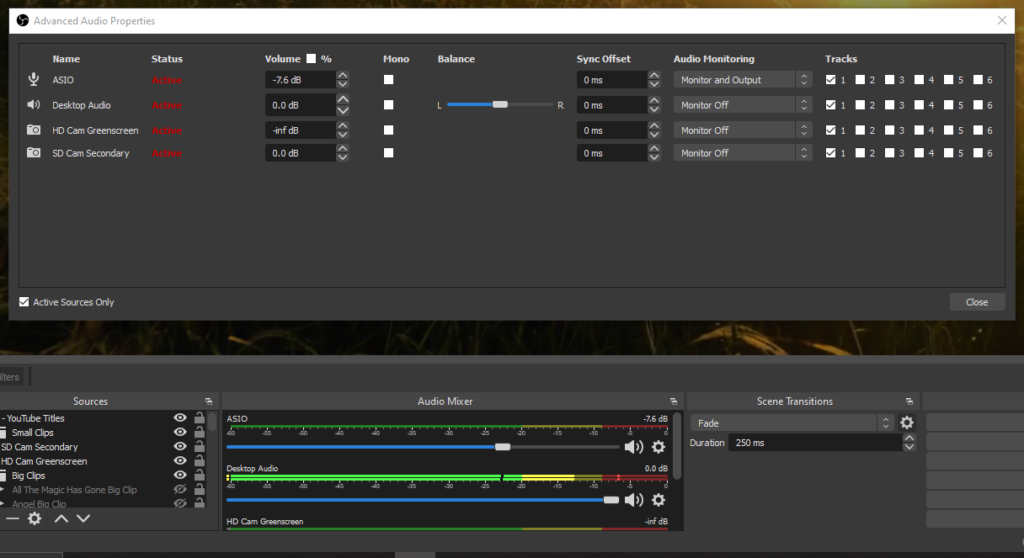
Your live stream will use only one track. You can choose which one in the Advanced Streaming Settings for Output. By default it will be track 1. Now what is the use of having separate tracks to mix to? These tracks can be used for recording video with OBS. The tracks will end up written separately in the video file it records.
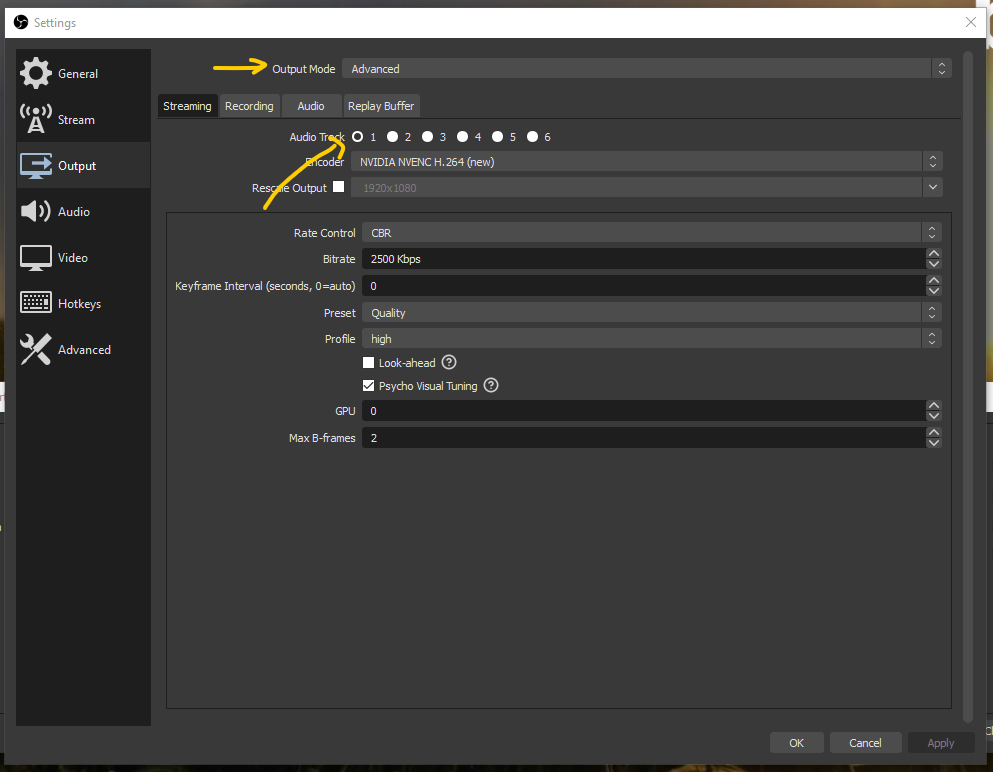
Gamers use this to have a track with the sound of the game and a track with their voice-over. Maybe also a separate track for sound effects and one for music. Then when they stream to Twitch they can leave out copyrighted music and still upload to YouTube with music. In the Advanced Recording Settings for Output you can choose which tracks will be written into the video output file.
Monitoring the output
If you leave everything set up as it is by default, all audio sources will output to your stream or recordings as you have just set it up. However there will not be any monitoring of the streamed or recorded output. This makes it heard to find the balance between different sources, if you have them. If you want to start monitoring you will have to select a Monitor option in the Audio Mixer settings. So there is also a stereo monitoring channel next to the six tracks.
In the Audio Settings, you will find the monitoring section. Here you can choose where to output the monitoring to. Please be aware of the latency that OBS introduces on the monitor output. You can’t use it live. You can just use it to find the right balance between different audio sources.

So what if there is no sound?
If you look in the monitoring options for an audio source in the Audio Mixer, there is even option to output sound to the monitoring channel, but not to the output tracks! So there is the option to set the level of an audio source to -inf, to mute the output and the option to switch off output to any of the output tracks. On top of that you could choose a track that does not get mixed to your stream. Very flexible, but it can also make it hard to find out why you have no sound on your stream.
There are only two ways to test your audio before really going live. The first one is to make sure you output the same track as your streaming track on a recording and then record a short video. The second one is to stream to an unlisted (YouTube) or private (FB) stream and then check the result. In short it is a miracle that this was the first time in maybe 50 livestreams that I had audio problems. Because it is live it is hard to know what the audience is hearing. I always ask at the start of a stream. Audio is really a tricky thing in a livestream to get right.