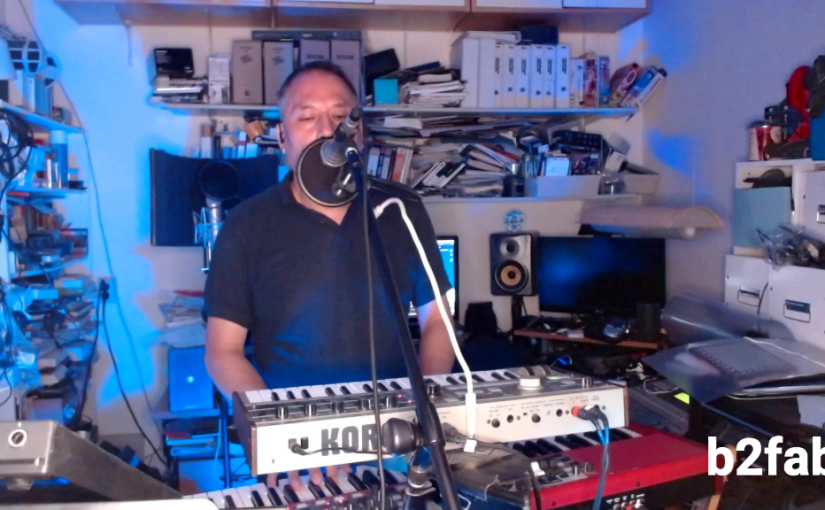
In a previous post I mentioned that I use OBS Studio for my live streaming and a little bit about how. It shows that I use an ASIO plugin for audio in the OBS Studio post, but why is it needed? For me in the live stream I want to recreate the studio quality sound, but with a live touch. After all, why listen to a live stream when could just as well listen to the album or single in your favorite streaming app? Lets first see where the ASIO plugin comes into play.
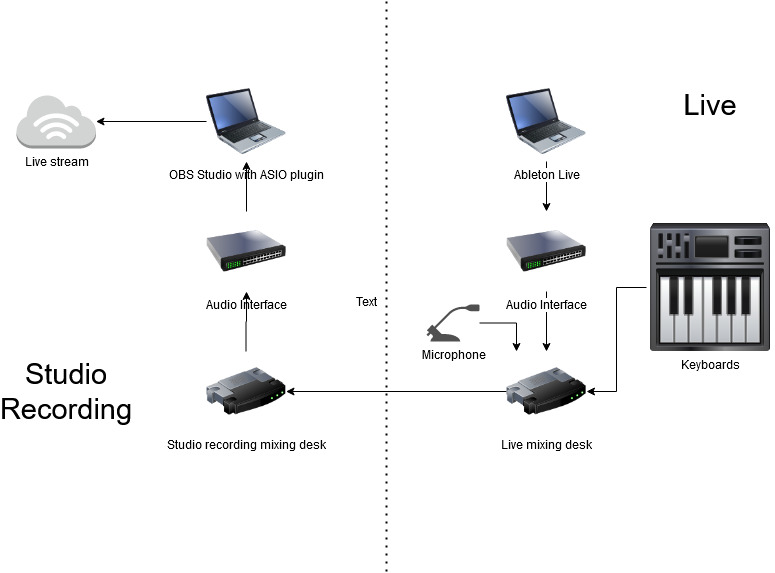
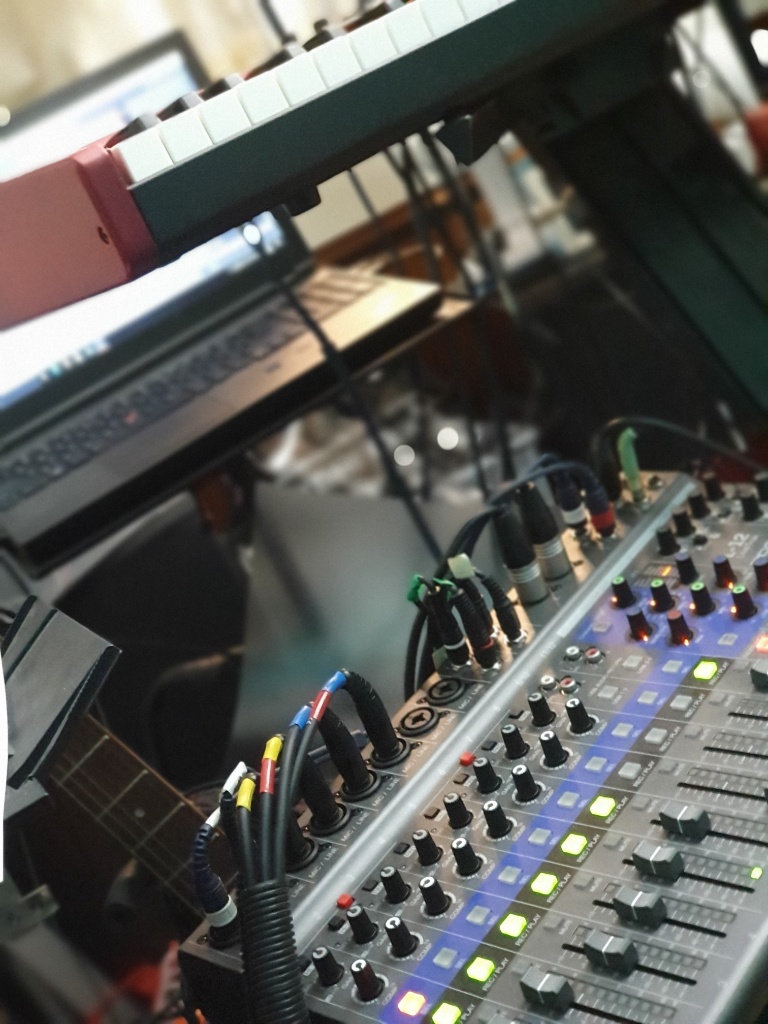
My setup in the studio is divided in two parts. One part is dedicated to studio producing and recording, with a Focusrite Scarlett 18i8, a digital Yamaha mixing desk and a MIDI master keyboard. For recording I use Ableton Live. The other part is the live setup, with (again) Ableton Live, another Focusrite Scarlett 18i8, a Clavia Nord, Micro Korg and the Zoom L12 mixing desk. The live setup will directly connect to the PA with a stereo output. Both sides run on separate PCs (laptops).
For OBS Studio and the live streaming setup, I chose to use PC on the studio recording side. Its directly connected to the Internet (cabled) and can easily handle streaming when it doesn’t have to run studio work. I play the live stream on the set dedicated to playing live and i use the live side stereo PA audio out to connect it to the studio side to do the live streaming. This means the live side if the setup is exactly as I would use it live.
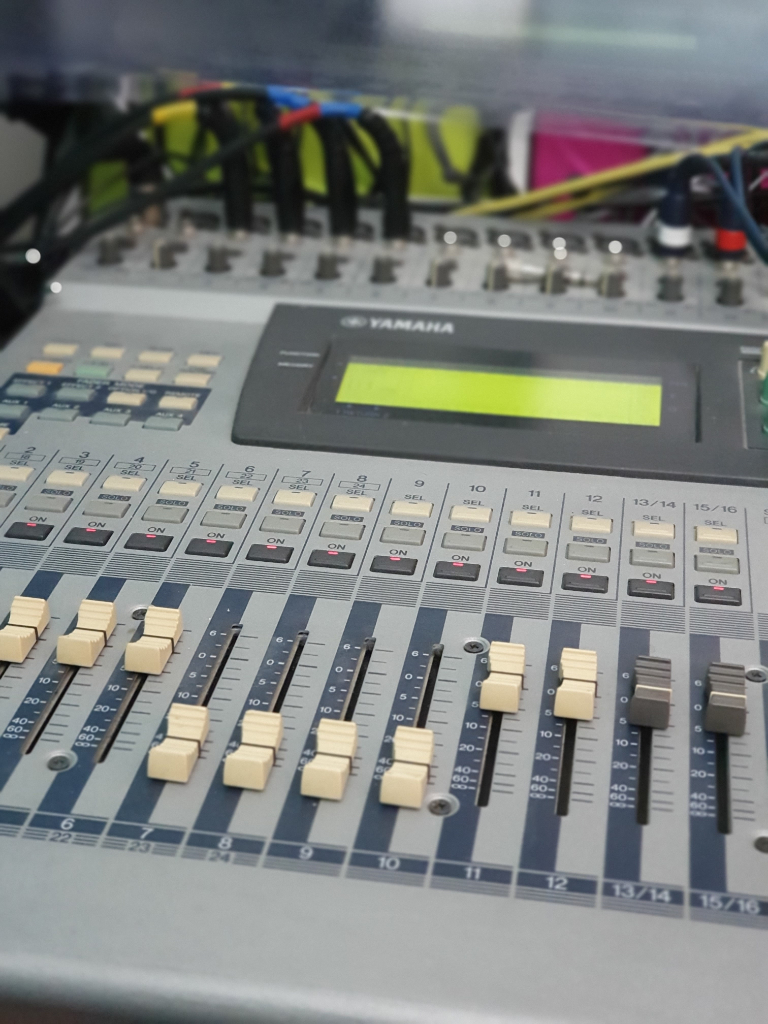
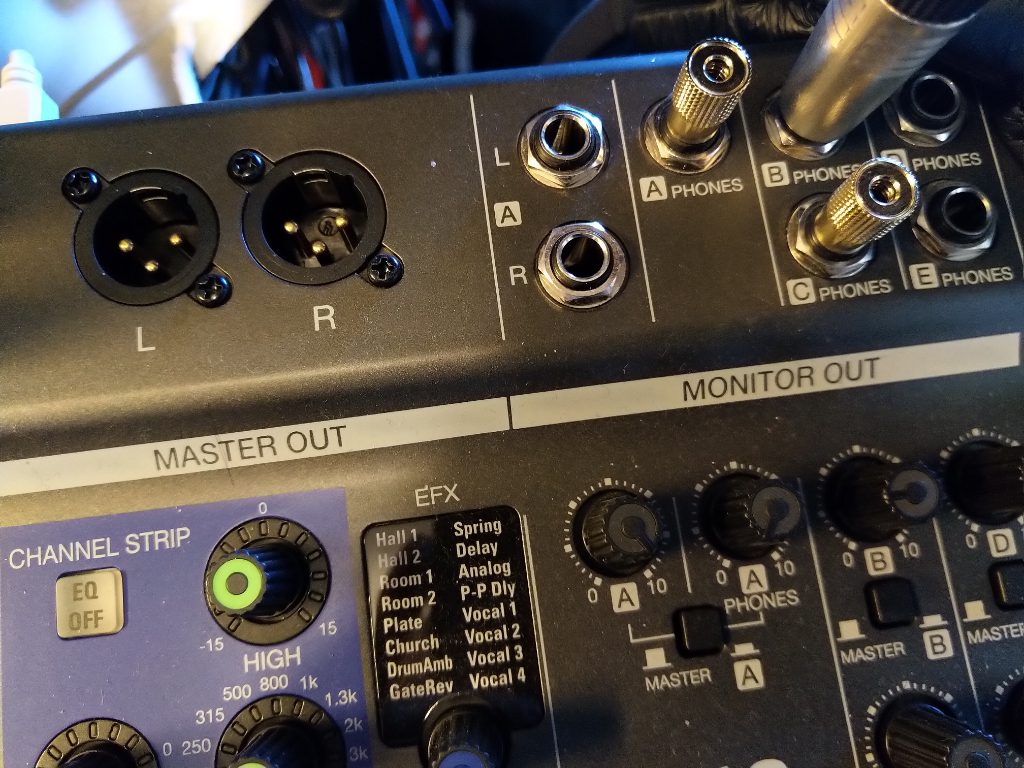
It all starts with the stereo output on the Zoom L12 mixing desk, that normally connects to the PA. On the mixing desk there is vocal processing and some compression on all channels to make it sound good in live situations. To get this into the live stream as audio I connect the stereo output to an input of the Yamaha mixing desk. This is then routed to a special channel in the studio side audio interface. This channel is never used in studio work.
Of course it could be that your live setup simpler then mine. Maybe only a guitar and and a microphone. But the essential part for me is this that you probably have some way to get these audio outputs to a (stereo) PA. If you don’t have a mixing panel yourself and you usually plug in to the mixing desk at the venue, this is the time to consider your own live mixing desk for streaming live. With vocal effects and the effects that you want to have on your instruments. Maybe even some compression to get more power out of the audio and make it sound more live.
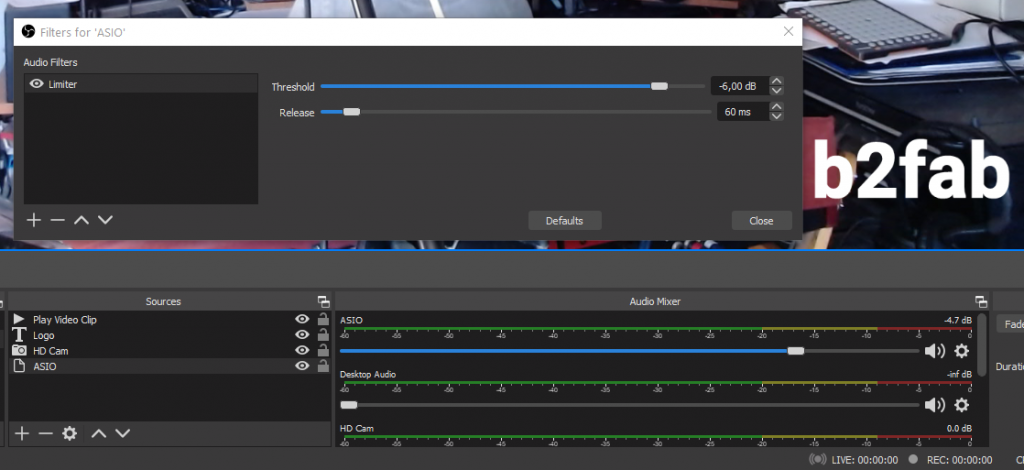
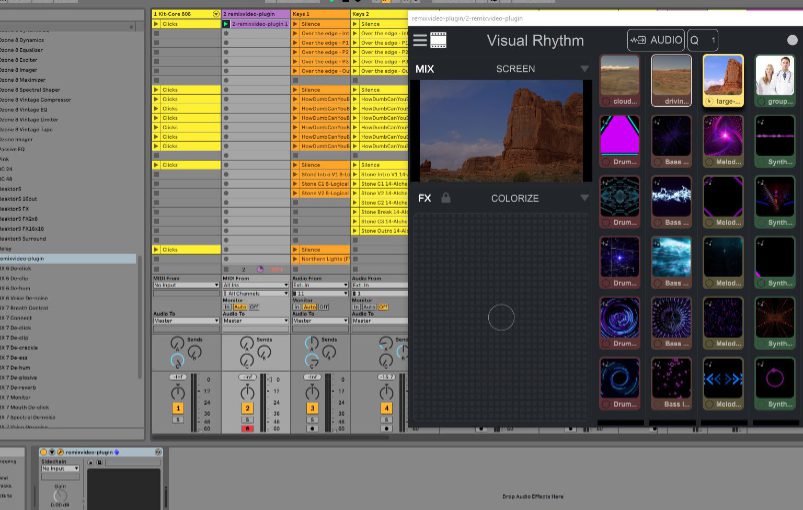
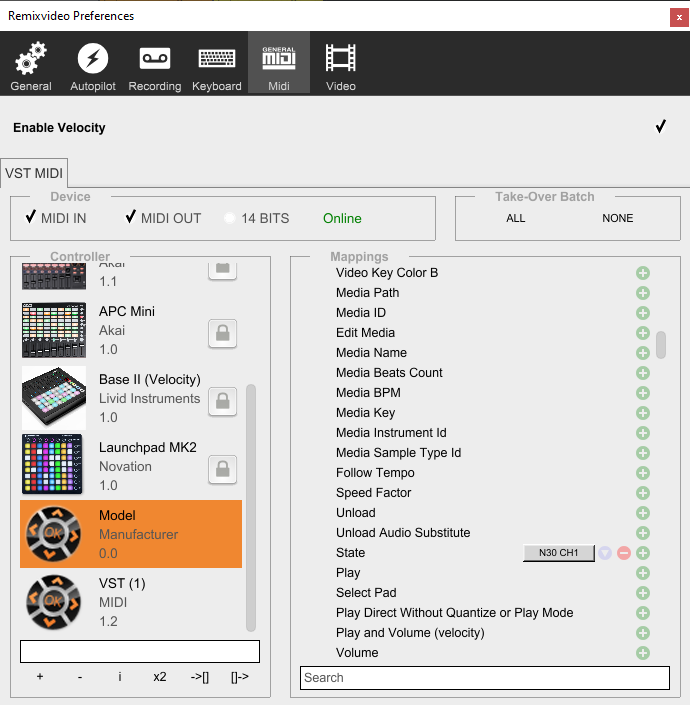
But lets look at where the ASIO plugin comes into play. The ASIO plugin takes the input of the special live channel from the Yamaha mixing desk using the studio side audio interface and that becomes the audio of the stream. Because I have full control over the vocal effects on the live side, i can just use a dry mic to address the stream chat and announce songs. Then switch on delay and reverb when singing. Just like when I play live, without the need for a technician even.
Playing a live stream is different from playing live, because it has a different dynamic. In a live stream its OK to babble and chat minutes on end, this is probably not a good idea live. I find however when it comes to the audio, it helps to start out with a PA ready output signal. Similar to the audio you would send to the PA in a real live show. Also it helps to have full hands on control over your live audio mix to prevent you having to dive into hairy OBS controls while streaming live. Lastly, for me its also important that streaming live is no different from a playing live at a venue in that you can break the mix, miss notes, mix up lyrics and that you feel the same nerves while playing.