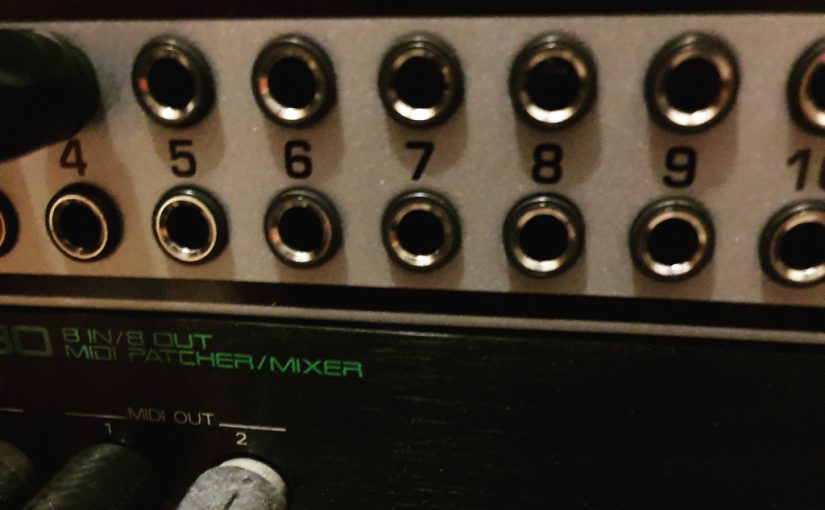
You might already have seen this on my socials. A nice photo of a new box stacked alongside my MIDI patchbay. Lately studio life got more complicated. I have 2 mixing tables. One for working in the studio and one for practicing live gigs. I found myself plugging instruments in and out of these mixing tables. Also, the studio mixing table, a Yamaha 01v, is getting old and some switches now already noticeably start making noise. For me this was the sign to start saving the desk and considering a patch panel.
You can spend any amount on a good one, but for my modest home studio purposes I chose the Behringer Ultrapatch Pro PX3000. With 48 channels it is well beyond my need to patch 6 channels across 12 inputs. But hey, who knows what will happen in the future. And it doesn’t break the bank at around 80 euros.
Plugging the instruments across the inputs of two tables now won’t wear down the inputs on the more expensive mixing desks any more. There is even be an option to use the patchbay in half-normal mode. In this mode I can make a setup to send the instruments to both inputs at the same time. Then you have to factor in the impedance of both mixing desks against the line outs of the instruments, but to my calculations it might just work.
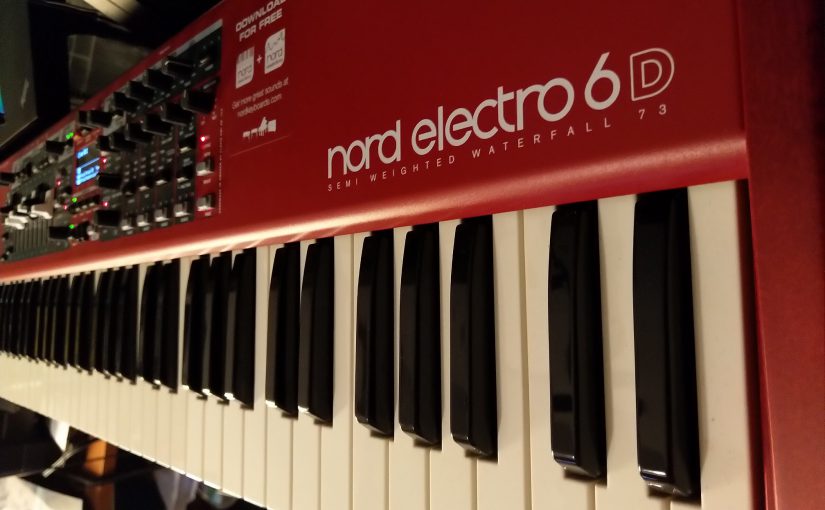
This is a about choosing my main instrument. The main inspirational instrument in the studio as well as the centerpiece on the live stage. After working for almost 20 years with the Korg Triton Pro it was time for something new. The old monster weighed a ton and it was a traditional workstation with sequencer, sampler, MOSS synth and ROM synth. I actually used only half of its functionality. Storage was on either a floppy disk (!) or a noisy SCSI disk (40MB!). Why did I go to the Clavia Nord Electro 6D? Of course, the Electro 6D is a well known and excellent instrument and there are plenty of reviews, but why did I chose it?
The main appeal was a single feature that I once had on an old Roland (D10?). It kept playing the sound as you switched programs. It sounded a bit garbled, but at least it wouldn’t cut off the sound while switching. A major irritation when I switched to the Korg. The Nord 6D series and other Nord instruments of the same generation bring this back, but this time in its full glory. The notes you last played keep playing, when you switch programs. Every key you hit after the switch plays with the new sound. This is perfection for playing live!
The other thing is: I noticed that almost all my music centers around piano, strings and organ sounds. This is where the Electro 6D excels. All sounds that don’t need pitch bend and you might have noticed that the Electro 6D doesn’t have it. The occasional whoosh and bleep and bloop can come from other instruments. Because it doesn’t have all the controls and in general isn’t made to be a master midi controller I use the Komplete Kontrol A49 in the studio for that. It has a very similar touché also.
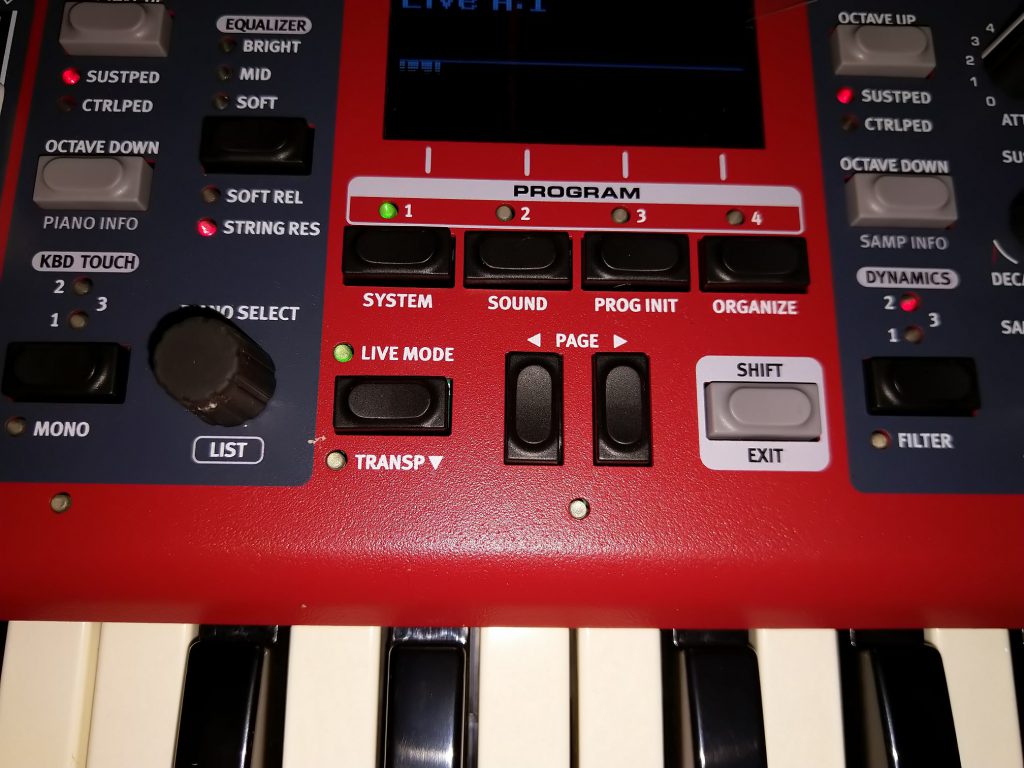
Live Mode
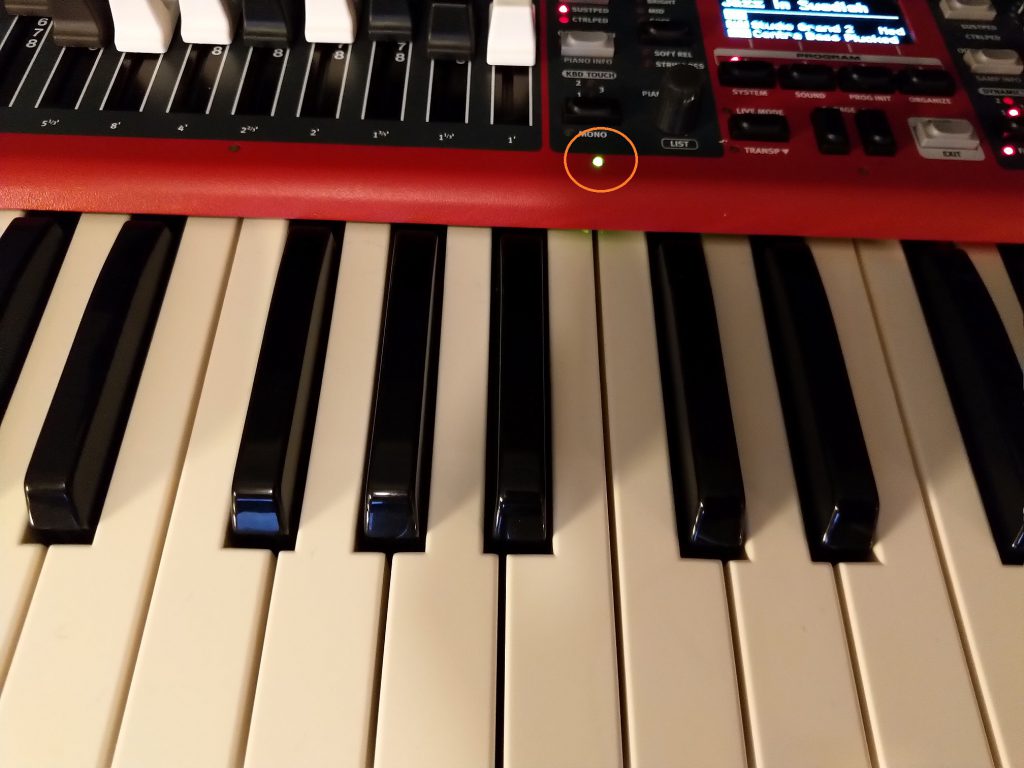
Another highlight of the Electro 6D is the Live Mode program selection in the center controls section of the keyboard. This switches the four program selectors into a set of pages with your favorite preset sounds. Including all mix and effect settings. This what I desperately need live. I used to move around sounds to have them as the first programs in the list, but with the separate Live Mode list I can put them right there and leave the program list as it is. Just to be sure I made a backup of my Live Mode favorites to have them back as I want, even when something gets twisted and accidentally saved as part of the Live Mode preset.
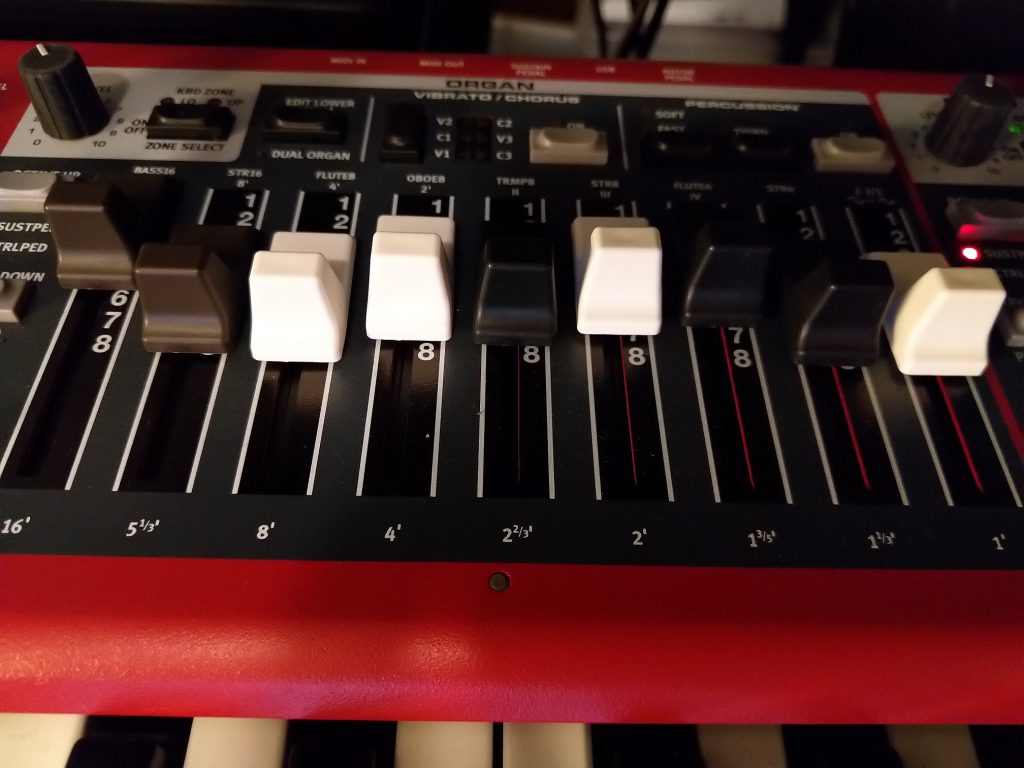
Organ register sliders
Then some small niceties. I chose the Electro 6D and not the Electro 6HP for the real organ sliders and its lower weight (9 kg instead of 11 kg). I have always played springy keys. In that sense I am not a true weighted keys piano player. I don’t use split keyboard sounds currently, but in the past I have used splits live also and the Electro 6D has the guidelight splits for that. In short, it has all the things that I dearly need and not a lot more or less.
I will try to write about my impressions with the Earth instrument. However, I will not completely review it. For in-depth reviews please check MusicRadar or TheAudioSpotlight or others. For me, ever since Camel Audio was bought by Apple and its Alchemy synthesizer disappeared as a standalone virtual instrument, I felt lost. Alchemy had a granular synthesis engine and a unique way to parameterize its sounds. The unique sound of this instrument disappeared and there was nothing to replace it. Omnisphere apparently is capable of recreating some sounds, but that is mainly because it can synthesize anything and its priced accordingly. The moment I heard a demo for Earth, I heard back some of that Alchemy sound again.
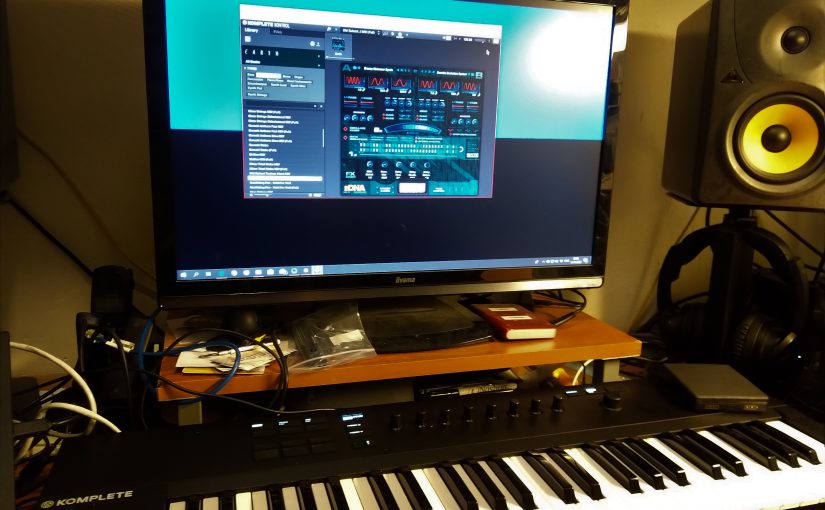
Technically its a completely different beast, compared to Alchemy. The Earth sounds are based on an orchestral sample library, but are then processed by the Kontakt engine to sound, cinematic, outer worldly and sometimes electronic. Yes its a Kontakt instrument, so you need at least the Kontakt player. Inside Kontakt you will find the eDNA interface of this instrument. As an owner of a Komplete Kontrol A series keyboard, this is very convenient. It means I can use the Komplete Kontrol browser to quickly browse through the sounds and immediately tweak parameters of the sounds once loaded.
The Kontakt engine and the eDNA interface of Earth takes some getting used to. To make sure you fully understand its workings its a good idea to go through the walk through on the Spitfire Audio site. In short, every sound consists of two samples from the library. Which are mangled, then mixed, then chopped up and lastly processed by a set of effects. Very important is to see that you have sounds, but also full versions of the same sound. The full version contains the full range of orchestral samples. This allows you not only to start with a fixed set of samples, but eventually switch out one of the samples for another.
The result is that you get a sound that is usually cinematic. Sometimes a wash or a drone in the background and sometimes a sharp stab in the foreground. Because of the mangling and the chopping, sounds can really get that grainy Alchemy sound, or a dirty sound. None of the patches is really clean. I can only say: I love it. All sounds immediately inspire to let you build a soundscape. Even better, with a Komplete Kontrol Keyboard you can also immediately start changing the sound, bringing it even more to life.
If are looking for cinematic sounds, drones, or dirty stabs and you want an affordable synth then I invite you to take a look at this Kontakt library. In most reviews you will find some comments on eDNA interface of this instrument and I have to agree that it can be kind of hard to find your way in elements that are not inviting you to click or drag. After some getting used to it is not that bad. All in all: recommended!
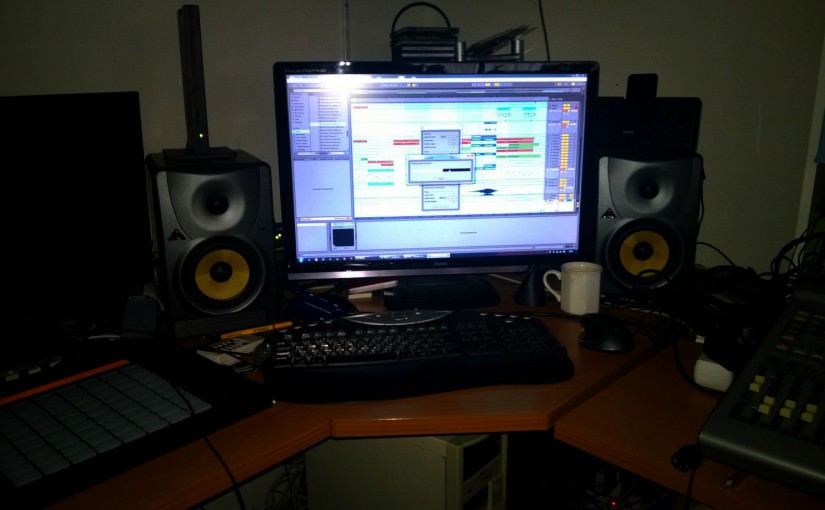
I have been in and out of the biggest and very small studio’s, but by no means my home setup can match any of the studio’s i have had the honor to work in. Its a PC, headsets, monitors, an audio interface and a microphone essentially. Yes, there also other gear, but i could work without it. Specifically for working with vocals, there is not much more that you would need.
Hardware and software
I have invested in a better microphone. A nice condensor with tube preamp from sE. The audio interface is one of the Focusrite Scarlett models. The headsets are from Sony and Sennheiser, not too expensive. Bought for acceptable audio quality and wearing comfort. The monitor speakers are a pair of very basic Behringer types. You can’t mix on headphones alone. The PC is a bit on the weak side, but 64 bits and 16GB of memory with SSD. The whole setup as i have it should set you back around 1500 euro’s.
Then there’s software. I use Ableton and that is on its own enough to turn this hardware into a studio. I have invested in plugins for all kinds of purposes, but again they are not needed. Another 100 euro’s and you are in the music business.
Setup
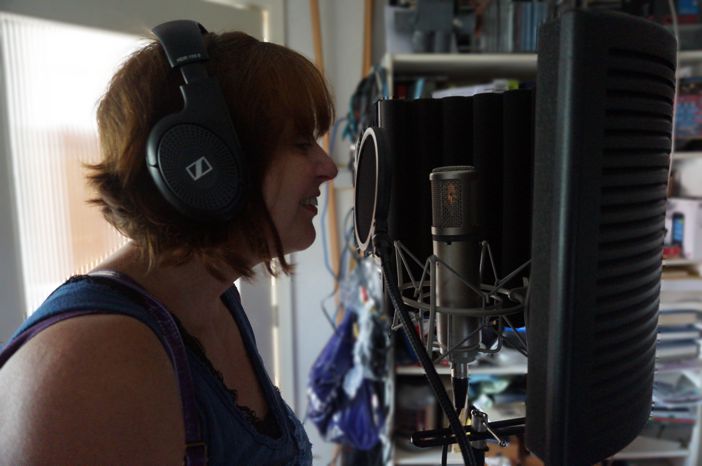
Then there is no separate recording room or mixing room, when i record vocals it is all in the same small room in the attic. Call it a mess, stuffed with musical instruments and a PC. To compensate for the noise that the PC will make and the poor room acoustics I put the microphone inside a nice sE recording filter and behind a plop filter. The setup looks like this.
Heddy recording
The actual noise from the PC is getting through, but is low enough to be taken out by a basic gate. When recording i make sure that the levels reach halfway from 0db in Ableton, which would be around -18 db. This leaves enough headroom and allows the noise floor to be gated out in my case.
Recording
As you can see, the trick to not using a separate recording room is the use of a headset. For the first recording sessions i was very nervous, so i put a lot of effort in setting up a separate routing in Ableton to allow for a real headset mix. With Cue Out to another output. In practice now i just throw the Master Out into two headsets. One for me and one for the performer. Of course the monitor speakers are switched off while recording.
Personally i work with a complete arrangement, before adding vocals. This means in Ableton i will be recording in the Arrangement view. Recording in the Session view is maybe more your thing. It depends on your workflow. Just one thing, whatever way you work, make sure you know your DAW. There is nothing more frustrating then wasting the time of your singer with finding stuff out and messing up. Recording should be swift and when you have “flow” it should not be interrupted needlessly.
This also applies to the hardware of course. Messing with cables and mixer routing is a waste of everybody’s time. Know your software. Know your hardware. Need another take? Bang, start recording. Is the recording okay, but could maybe done better? Save this track. Record another. Compare. Play back. Which is better? Go back to the first recording? Okay no problem. One line went great, the next not so great? Keep the first line and only record the next line. Punch in, punch out recording. Practice this before inviting your guest performer. It makes the difference.
Tricks
Try to listen carefully while recording. Strange plops or noises? Are the words right? Did you get all parts recorded? As a rule, don’t immediately start mixing during or straight after recording. Rest your ears and have a listen again, the next day. Then start mixing or discover that you need another recording session. It happens.
And okay i admit, i also cheat a little, specifically with my own vocals. I use Melodyne from Celemony (autotune) and Nectar from Izotope (vocal processing). Two tools to get great sound with small means. It also allows for doubling voices for multiple layers of vocals and it saves a lot of studio time. Please make sure your performer agrees on you cheating.
I use cookies on this website to see statistics and make sure that you can find your way. By clicking “Accept”, you consent to the use of cookies for only this.
I will never sell your personal information. I'm in it for the music!
This website uses cookies to improve your experience while you navigate through the website. Out of these, the cookies that are categorized as necessary are stored on your browser as they are essential for the working of basic functionalities of the website. We also use third-party cookies that help us analyze and understand how you use this website. These cookies will be stored in your browser only with your consent. You also have the option to opt-out of these cookies. But opting out of some of these cookies may affect your browsing experience.
Necessary cookies are absolutely essential for the website to function properly. These cookies ensure basic functionalities and security features of the website, anonymously.
Cookie
Duration
Description
cookielawinfo-checkbox-analytics
11 months
This cookie is set by GDPR Cookie Consent plugin. The cookie is used to store the user consent for the cookies in the category "Analytics".
cookielawinfo-checkbox-functional
11 months
The cookie is set by GDPR cookie consent to record the user consent for the cookies in the category "Functional".
cookielawinfo-checkbox-necessary
11 months
This cookie is set by GDPR Cookie Consent plugin. The cookies is used to store the user consent for the cookies in the category "Necessary".
cookielawinfo-checkbox-others
11 months
This cookie is set by GDPR Cookie Consent plugin. The cookie is used to store the user consent for the cookies in the category "Other.
cookielawinfo-checkbox-performance
11 months
This cookie is set by GDPR Cookie Consent plugin. The cookie is used to store the user consent for the cookies in the category "Performance".
viewed_cookie_policy
11 months
The cookie is set by the GDPR Cookie Consent plugin and is used to store whether or not user has consented to the use of cookies. It does not store any personal data.
Functional cookies help to perform certain functionalities like sharing the content of the website on social media platforms, collect feedbacks, and other third-party features.
Performance cookies are used to understand and analyze the key performance indexes of the website which helps in delivering a better user experience for the visitors.
Analytical cookies are used to understand how visitors interact with the website. These cookies help provide information on metrics the number of visitors, bounce rate, traffic source, etc.
Advertisement cookies are used to provide visitors with relevant ads and marketing campaigns. These cookies track visitors across websites and collect information to provide customized ads.