Please note: If you are experienced in mixing this article will probably state the obvious. This blog is mostly intended as a “note to self” and everybody else that cares to take interest.
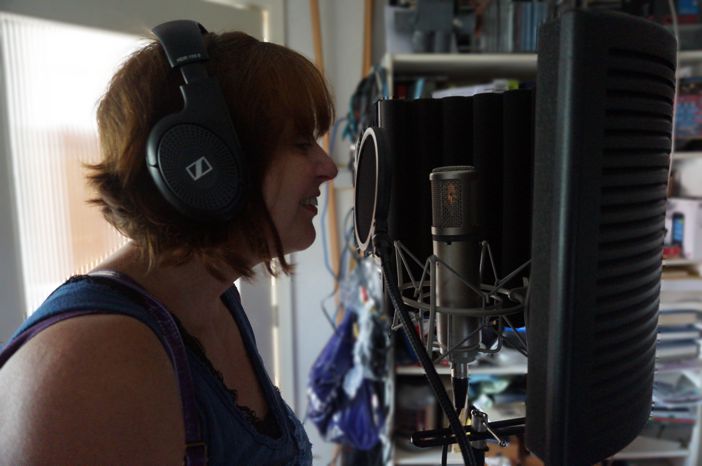
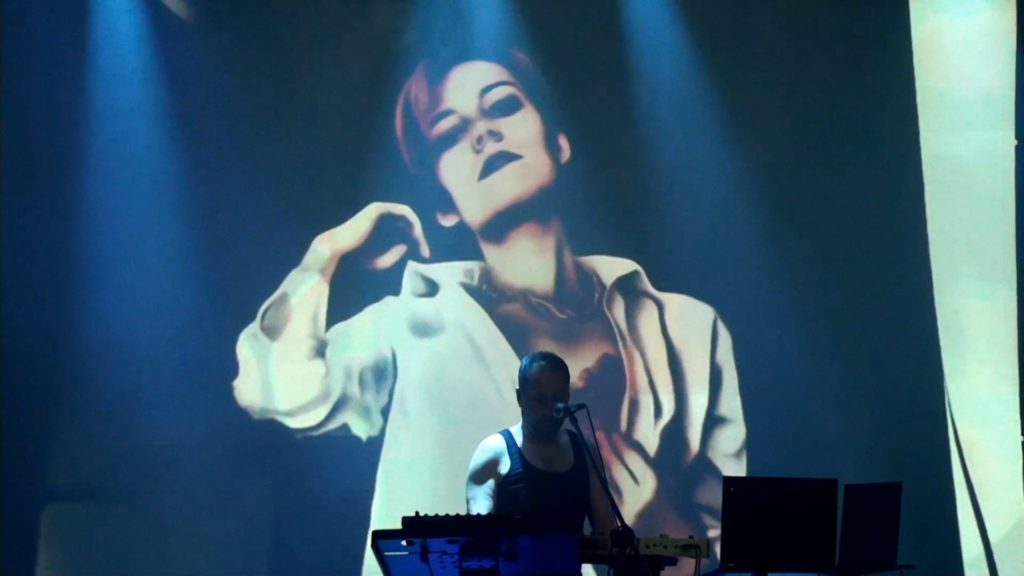
Recently one of my music friends Hanny told me that she had performed at a gig with her new band HannaH (check it out) that was broadcast live on local radio. Of course, she had asked for a recording that could be used for promotional purposes. There seemed to be no problems with the actual broadcast, but the recording behaved very strangely. When listening on a phone, the guitar disappeared. When you listened with headphones, your head would explode. The whole mix seemed strangely unbalanced. Phase problems… But we got out of it with a result that was even better than the original!
How did we get here?
These kind of phase problems probably have a very simple reason. In a stereo mix, somehow two wires in one channel were wired the wrong way. One bad cable can do the trick. What happens if some or left or right channel wires are wired the wrong way? The signals cancel each other out. Simple math shows it:
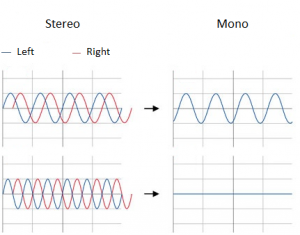
But the top signal seems ok, right? Well its drawn maybe a little incorrectly. The top signal actually has a little more richness of the waveforms to it and a little of cancellation. When used right, you will have a Phaser effect. Something you can find in any DAW and set of guitar effects as an effect that also wobbles the phase to add a little excitement and widening to a otherwise boring signal. Overdo it, or mistreat a stereo signal and you get cancellations and left and right stretched to far. It can result in headaches while listening.
How to get out of here?
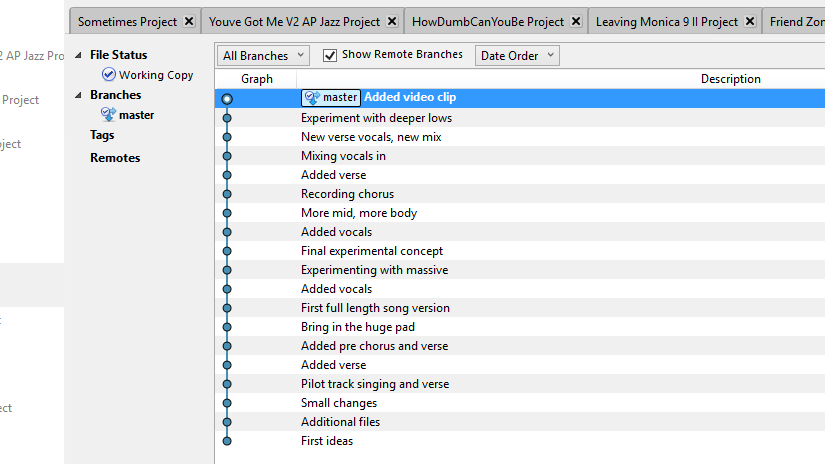
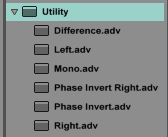
So you now you have a mix with phase problems and its not your mix, just a stereo sound file. Aside from plugins with the purpose of fixing phase problems, is there a way to get out with just the tools you have? Fortunately for me there is. Ableton has a utility effect section that centers around treating left, right and mono signals from a track. I am quite sure that your DAW has similar built in effects.
The trick here was to duplicate the signal and create one track with the phase difference signal and one track where left and right were mixed into a mono signal.
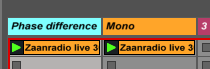
Now one track only featured the guitar. Proof that there was a phase problem with just the guitar in the stereo mix. The other track featured everything except the guitar. When mixing both in mono suddenly I as able to remix the recording! Do you want more or less guitar in this song? No problem? All problems solved for HannaH. Good enough in mono, because the audio was for promotional purposes. Once again like in a Dutch football proverb: Every downside has its upside. Happy mixing!