I’m back on the track of my own small solo live set. The first experiment was running a video stream that would run along with the show. But now there is a new twist: The Corona virus came and there will be no live set the coming months. All public shows have been cancelled for about half a year. My first live show has been pushed to November from June. The only alternative is live streaming.
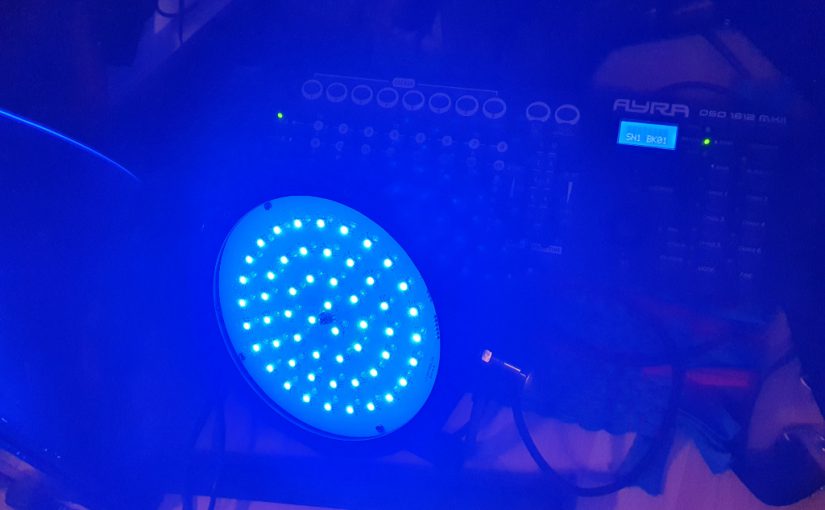
Just before the lockdown to combat the spread of the Corona virus I had bought a stage light. Just one to at least have a blue wash on stage to set a kind of moonlight mood. This was the Ayra ComPar 2. A simple LED stage light, with an IR remote and plenty of flexibility be more than just a blue stage wash.
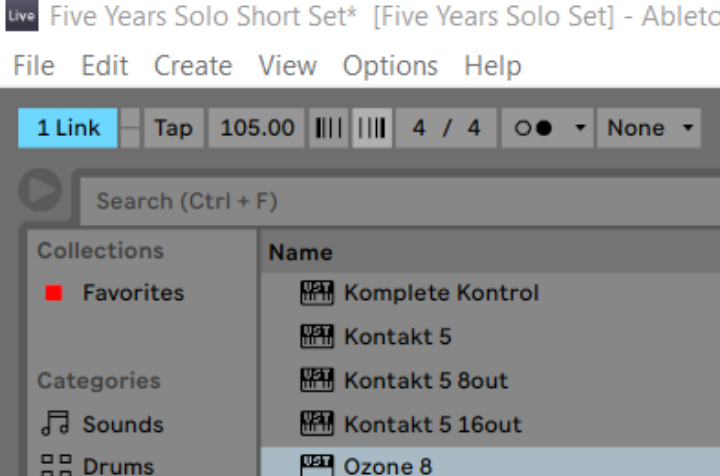
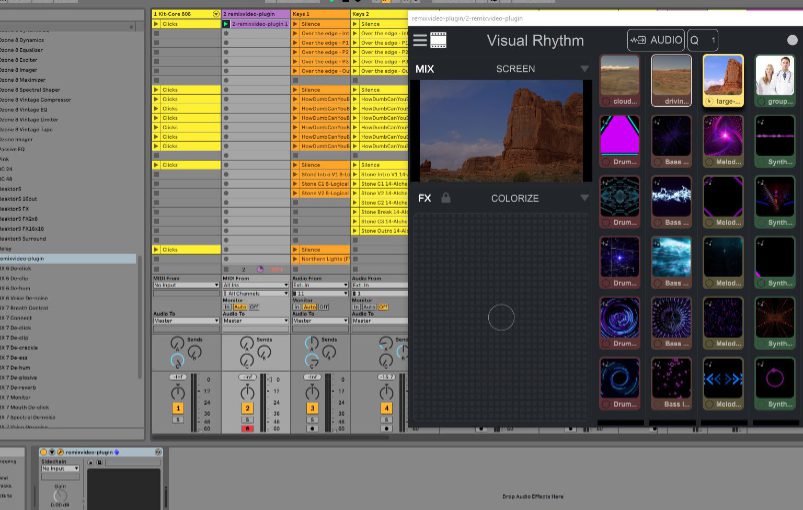
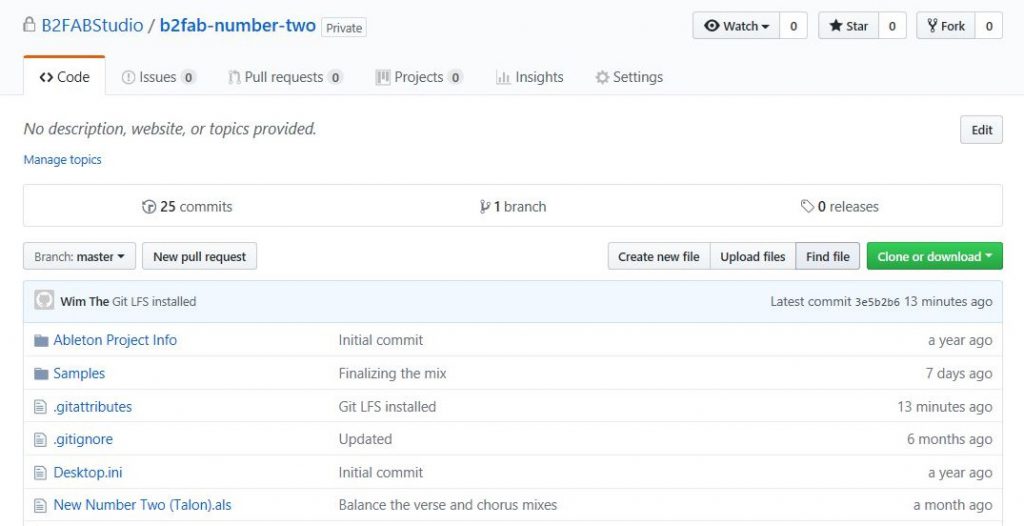
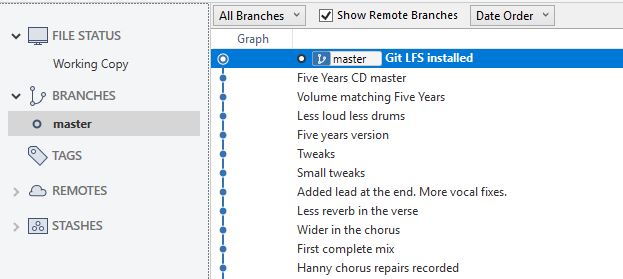
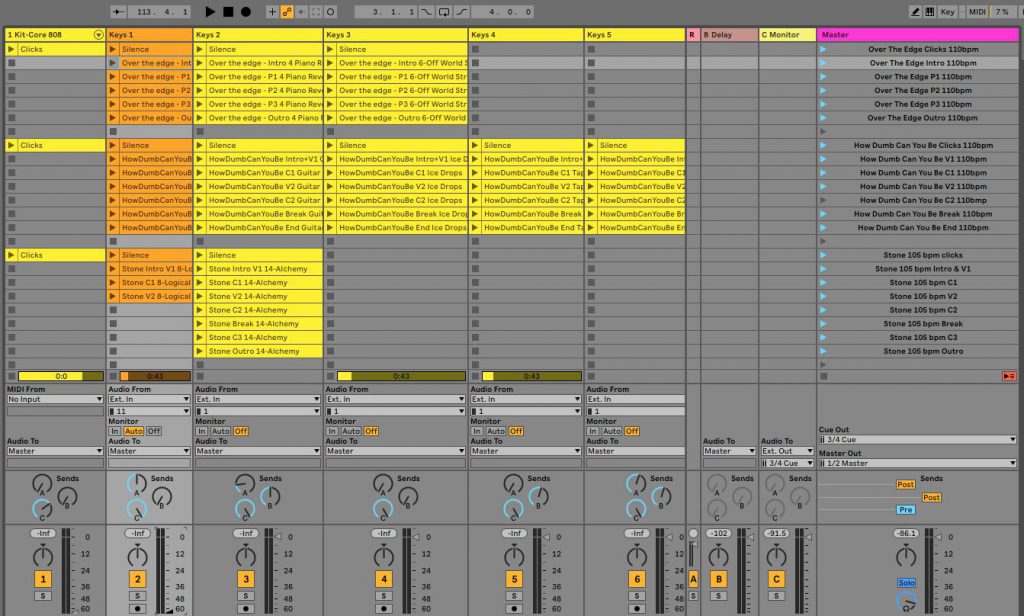
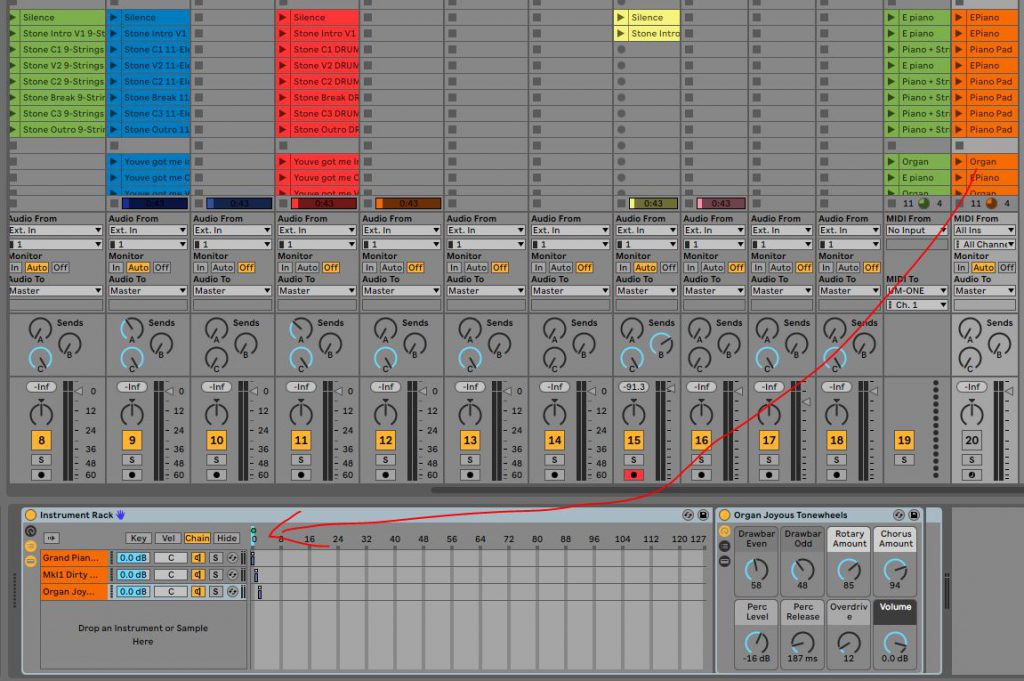
But while staying at home and after browsing through some online articles it dawned on me: you can simply control stage lights as part of your Ableton Live set. I use Ableton Live sets to run my stage show and believe it or not I use color coding for each different song to quickly browse through all the songs without having to look up the names.
The colors match the moods of the song, so my simple idea was to use this color code to match the color of the wash on stage. A red wash for a deeply felt love song. A green wash for a song about nature. A purple wash for an up tempo hot song etc.
But why put all this effort in a stage light when there will not be a stage for months to play on? Up to then I had been a bit weary of immediately jumping to live streaming instead of playing gigs. All the bigger artists now stream live. Every night on my socials there are at least a dozen artists performing live. I’m just starting out, so what can I bring to the table?
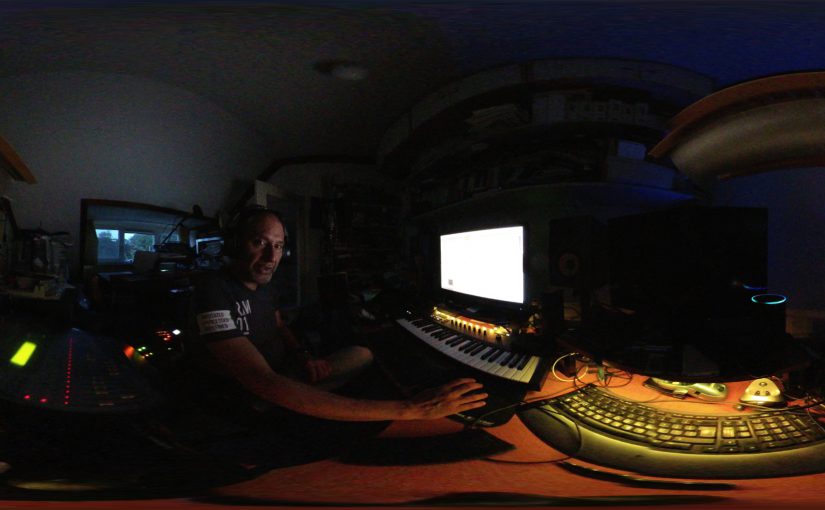
After discussing this with a close group of musicians and my music coach it became obvious. Why not start streaming live? It’ll be fun, even if nobody watches it. I can invite friends and just have fun together. And also because I had nothing else to do I jumped in to make this stage light idea work. It would change color with the song. Not on stage, but in the attic. The attic with my home studio as my online stage.
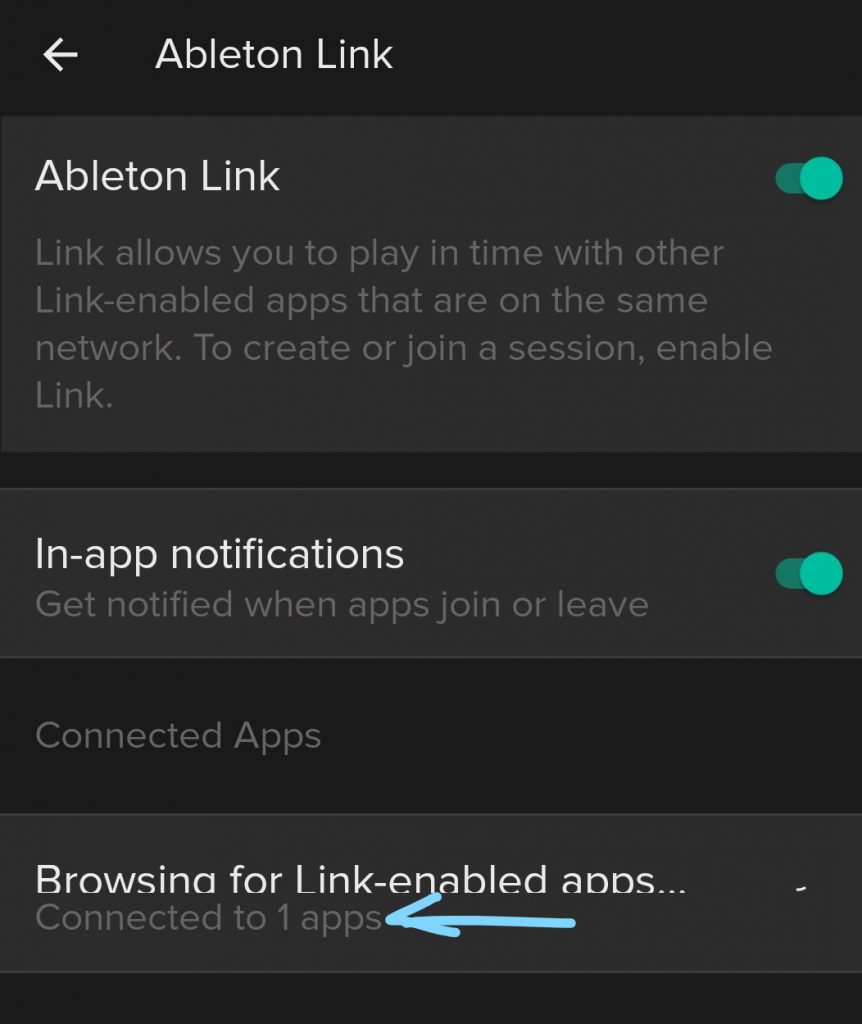
One of the intriguing functions of the ComPar 2 is the ability to connect a XLR cable with DMX signal to control it. After diving into it and in lockdown there was a lot of time to dive into anything I found out that there are also DMX light controllers that support MIDI. From the same company I got the Ayra OSO 1612 DMX Scanmaster controller. Very friendly priced i think.
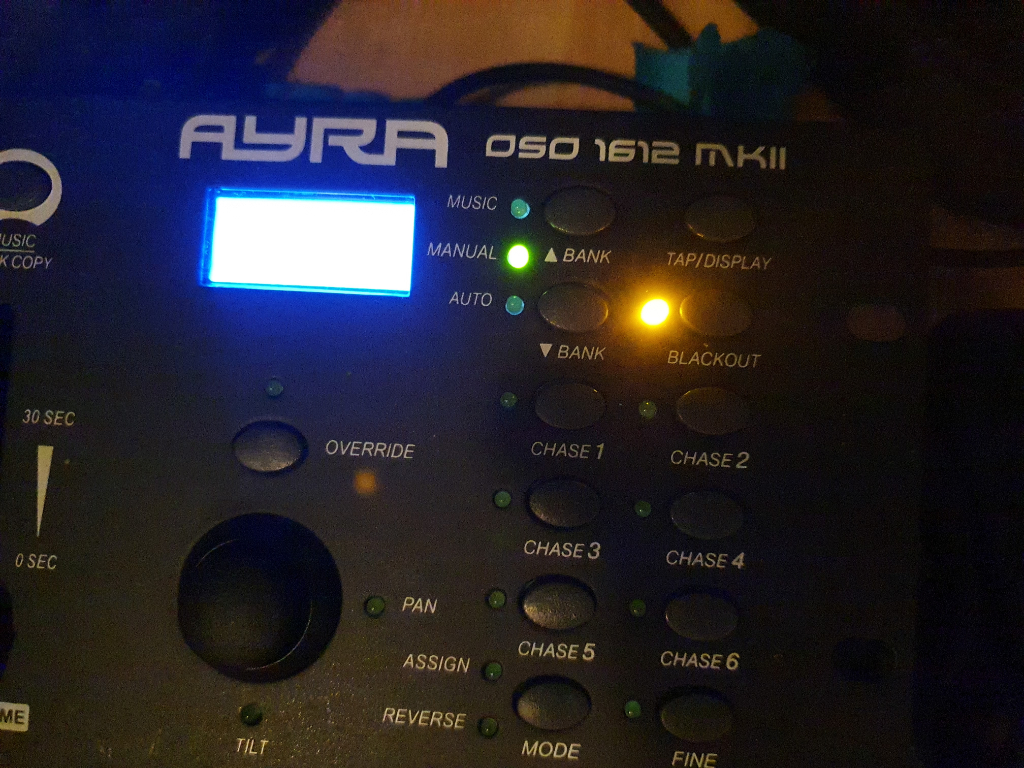
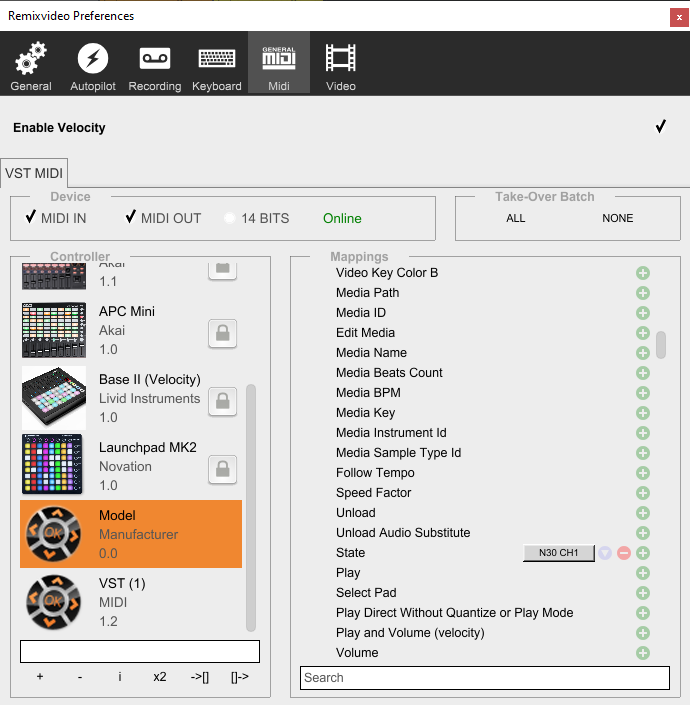
The DMX light controller simply accepts MIDI note data and maps that to programmable scenes. The controller can be connected to a chain of lights and a scene can set each light correspondingly. You can have flashing lights in a scene or movement from stage lights that can move. With 240 scenes you can probably make an interesting progression of lights for several songs, but I simply have a red, green, purple and blue scene for each song.
The controller I chose has a default setting where it blacks out all lights when starting up and that is not a bad thing at all. The only thing I must remember is to switch off the black out when playing live. That is the only attention it needs and from there everything is now running on rails. The live streaming shows allow me to test stuff out, but I’m now pretty happy with this setup.